Bend User Guide
Bend User Guide
You are able to test Bend without spending crypto assets by using Berachain Testnet.
To get started, head to the Bend testnet client which is available at https://artio.bend.berachain.com/.
Make sure to switch your wallet provider to the appropriate testnet network in order to use the protocol testnet without incurring costs on the mainnet network.
WARNING
Testnet networks are different environments from mainnet and simulate real use cases for development, testing or production. The assets on a testnet are not “real,” meaning that they cannot be withdrawn to your wallet for any real economic value.
Bend Interactions
The sections below should help you quickly get onboard with basic interactions of Bend.
Supplying
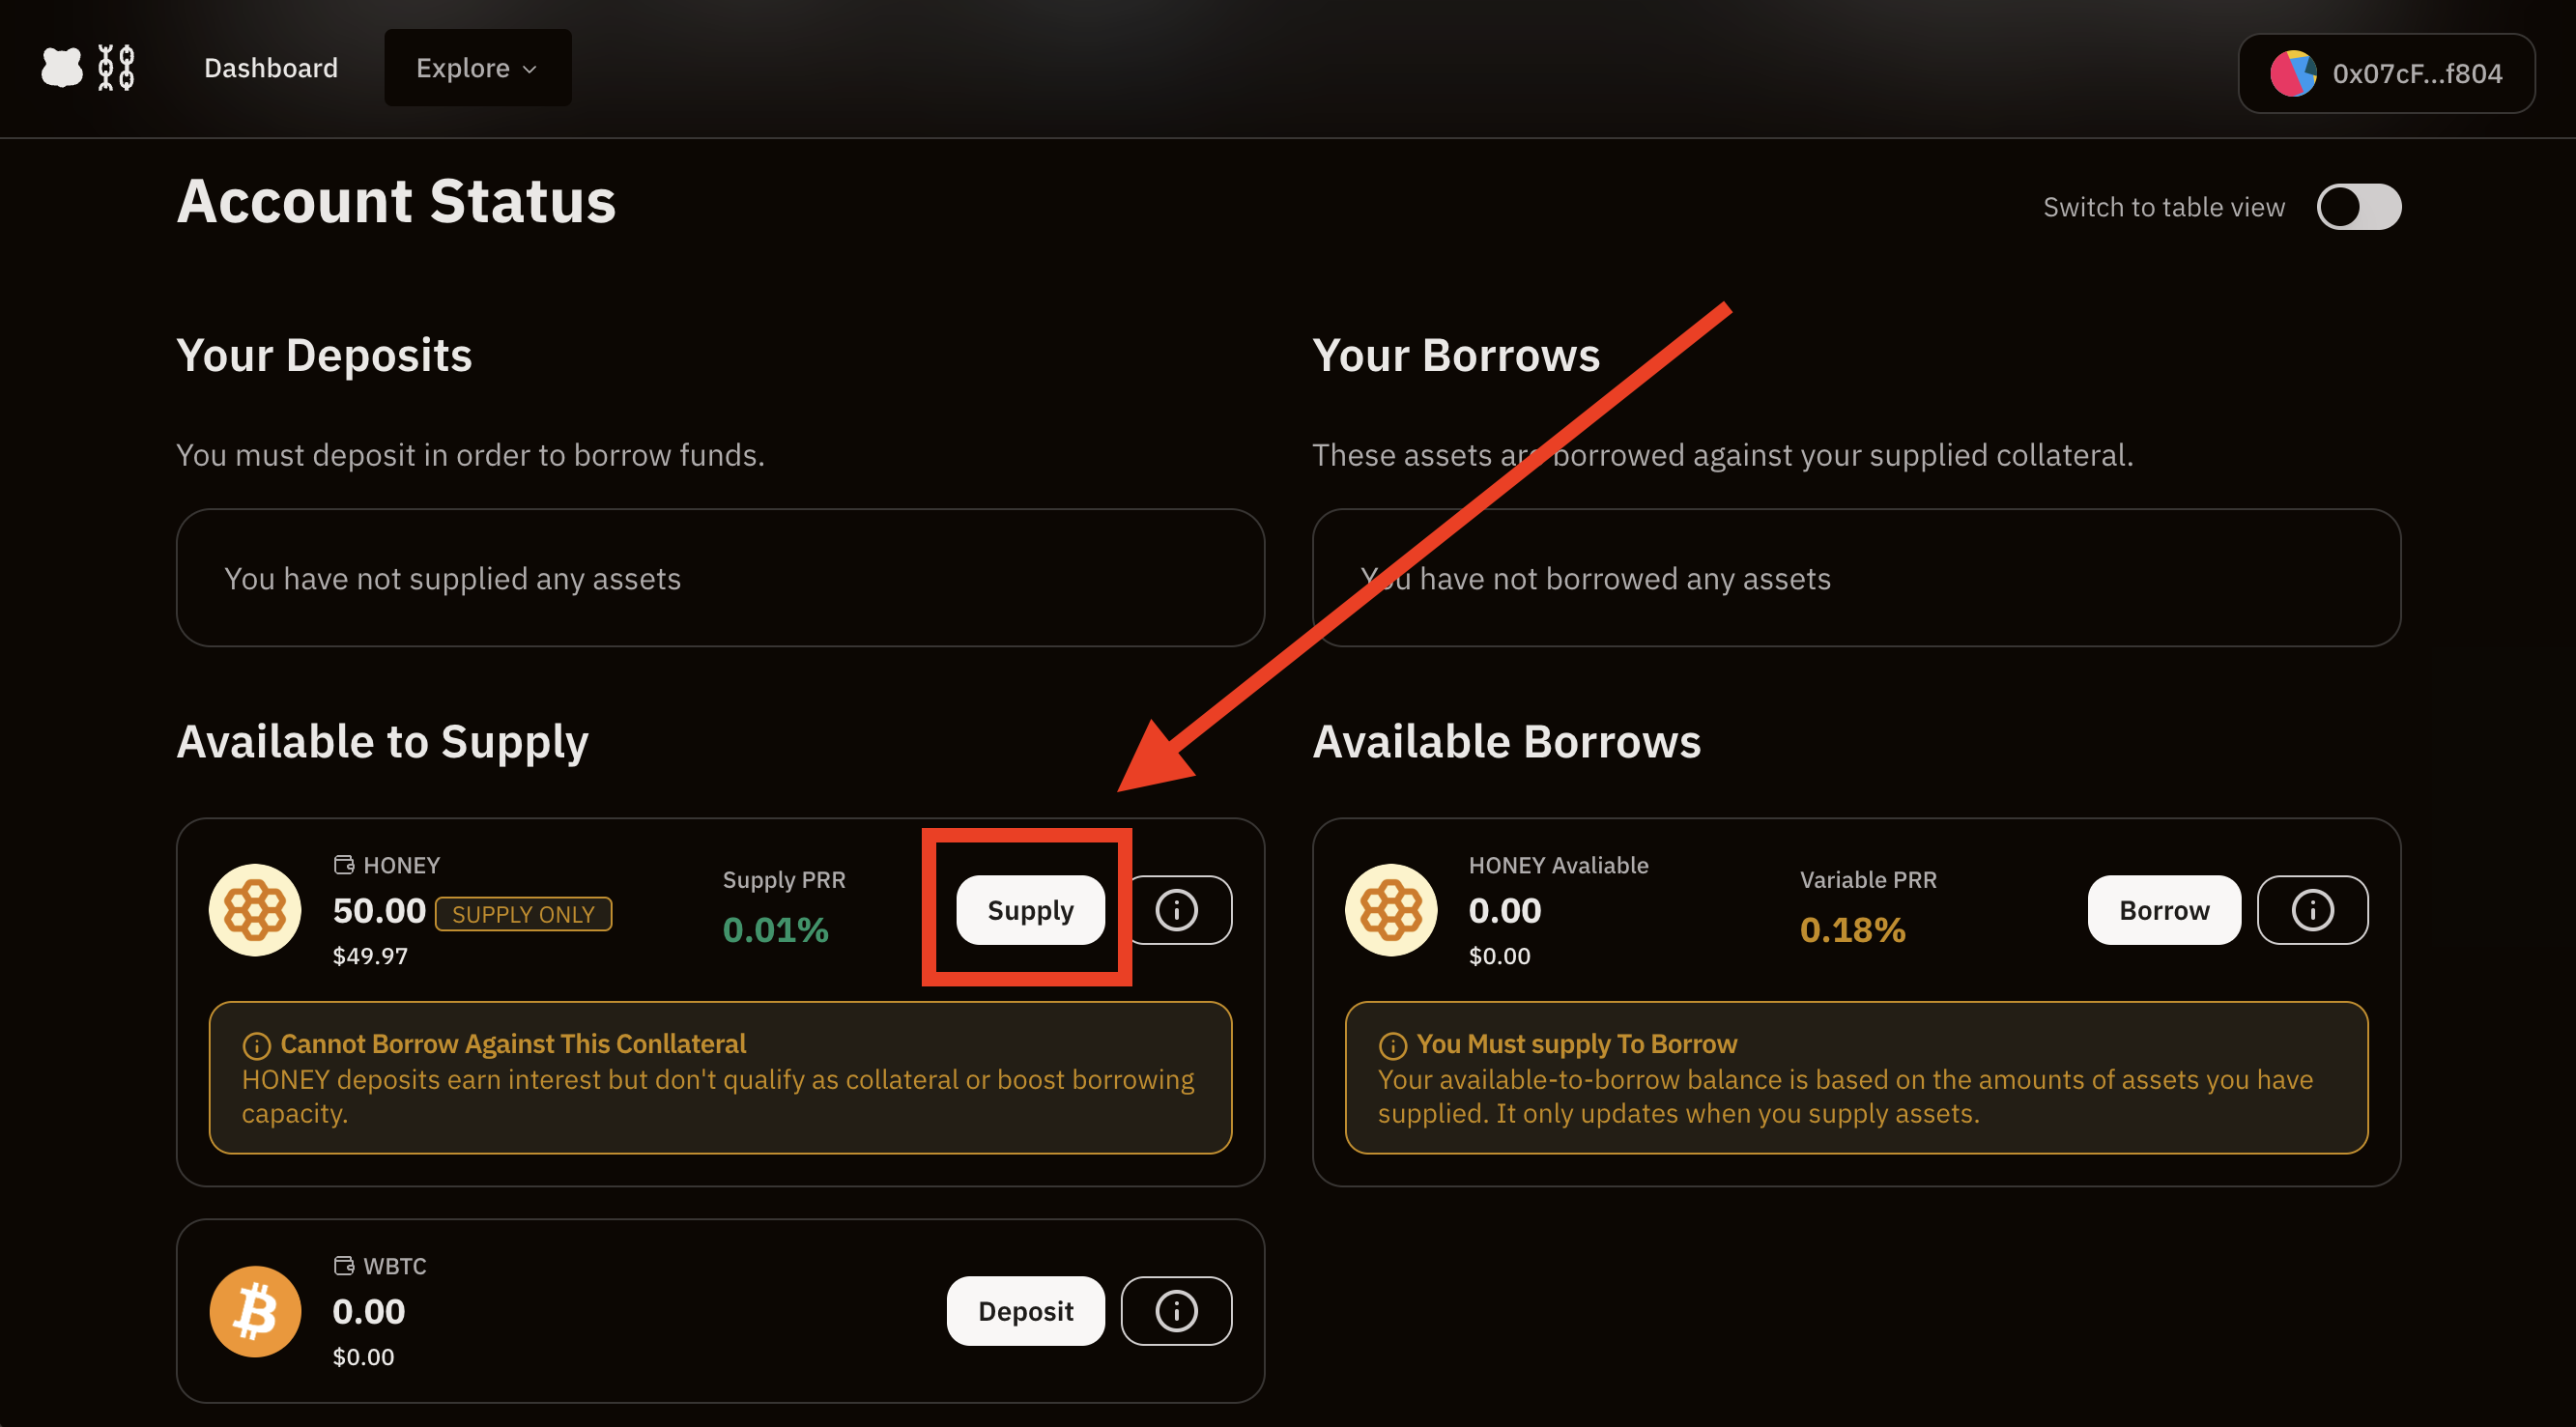
Once on the main page on Bend App. Click on Supply button as shown below.

You will be able to choose the asset you wish to supply.
Confirm on the amount of asset you want to supply.

Confirm the transaction on metamask. Once the transaction is confirmed, your supply is successfully registered and you begin earning interest. The first supply of one asset will require an additional approval transaction.
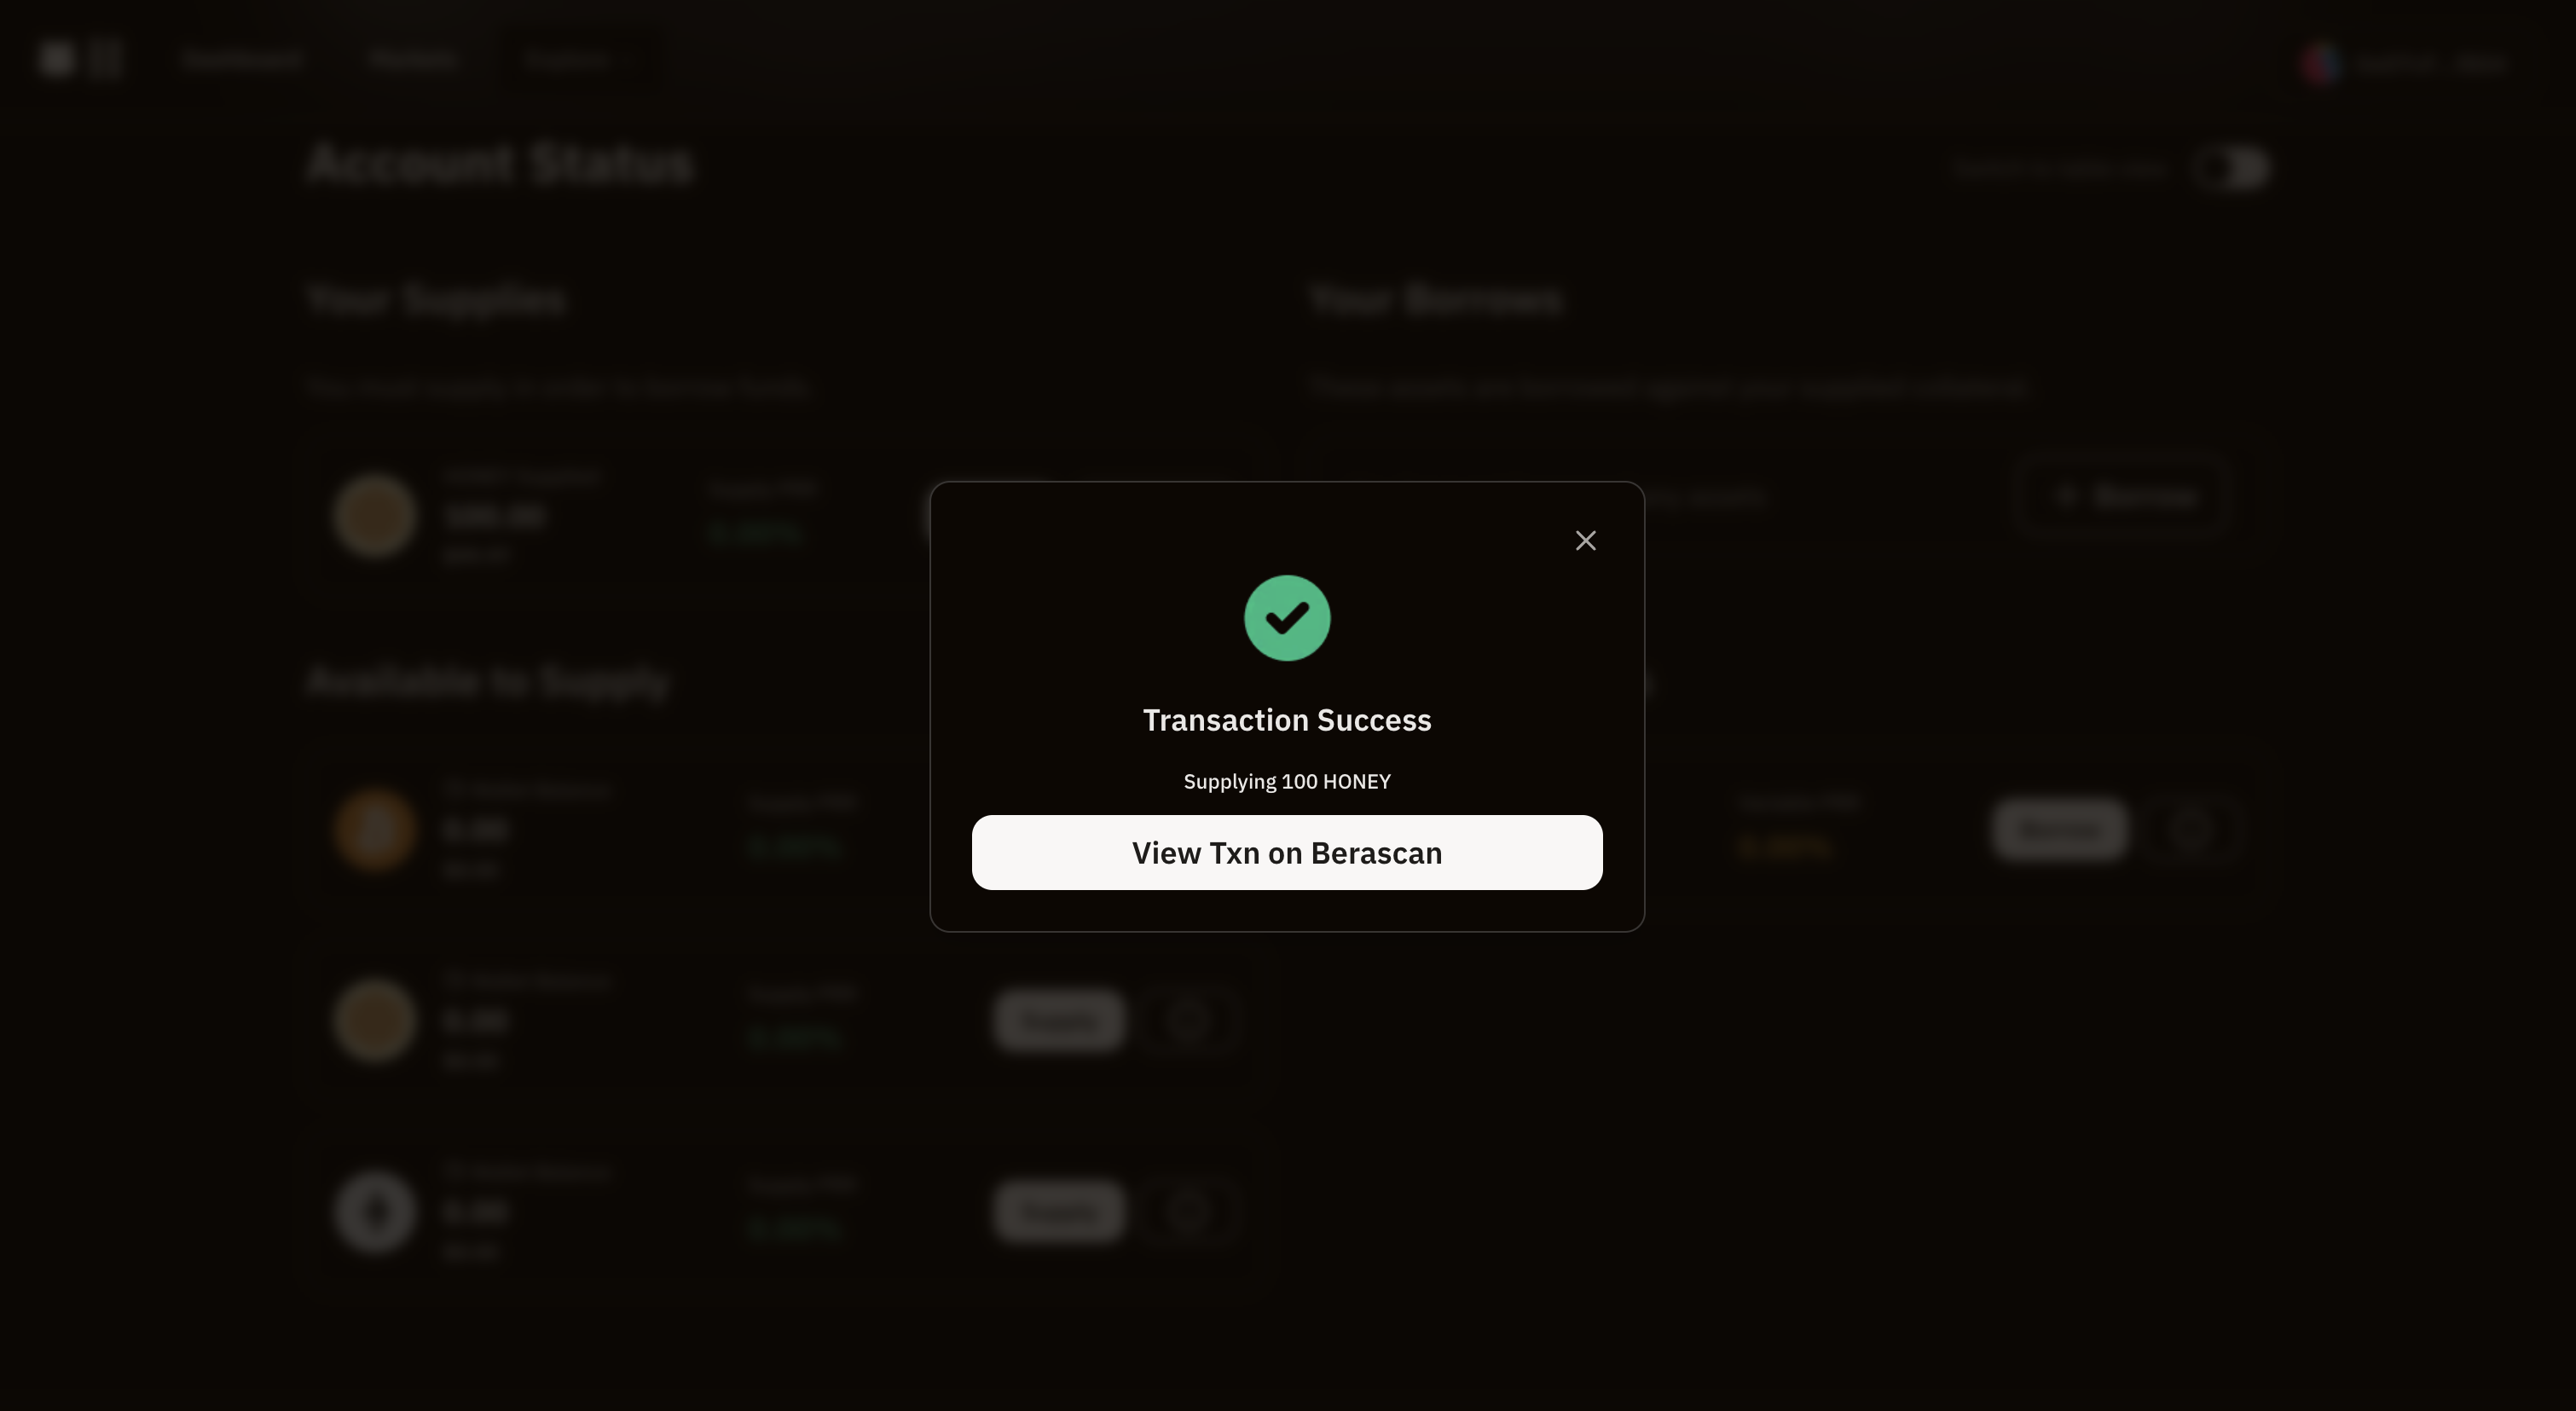
Once the transaction is confirmed the app will throw the message stating the confirmation.
Total supplied amount can be confirmed using the dashboard screen.

Depositing
To deposit tokens, head over to "Available to Supply" section on your dashboard.
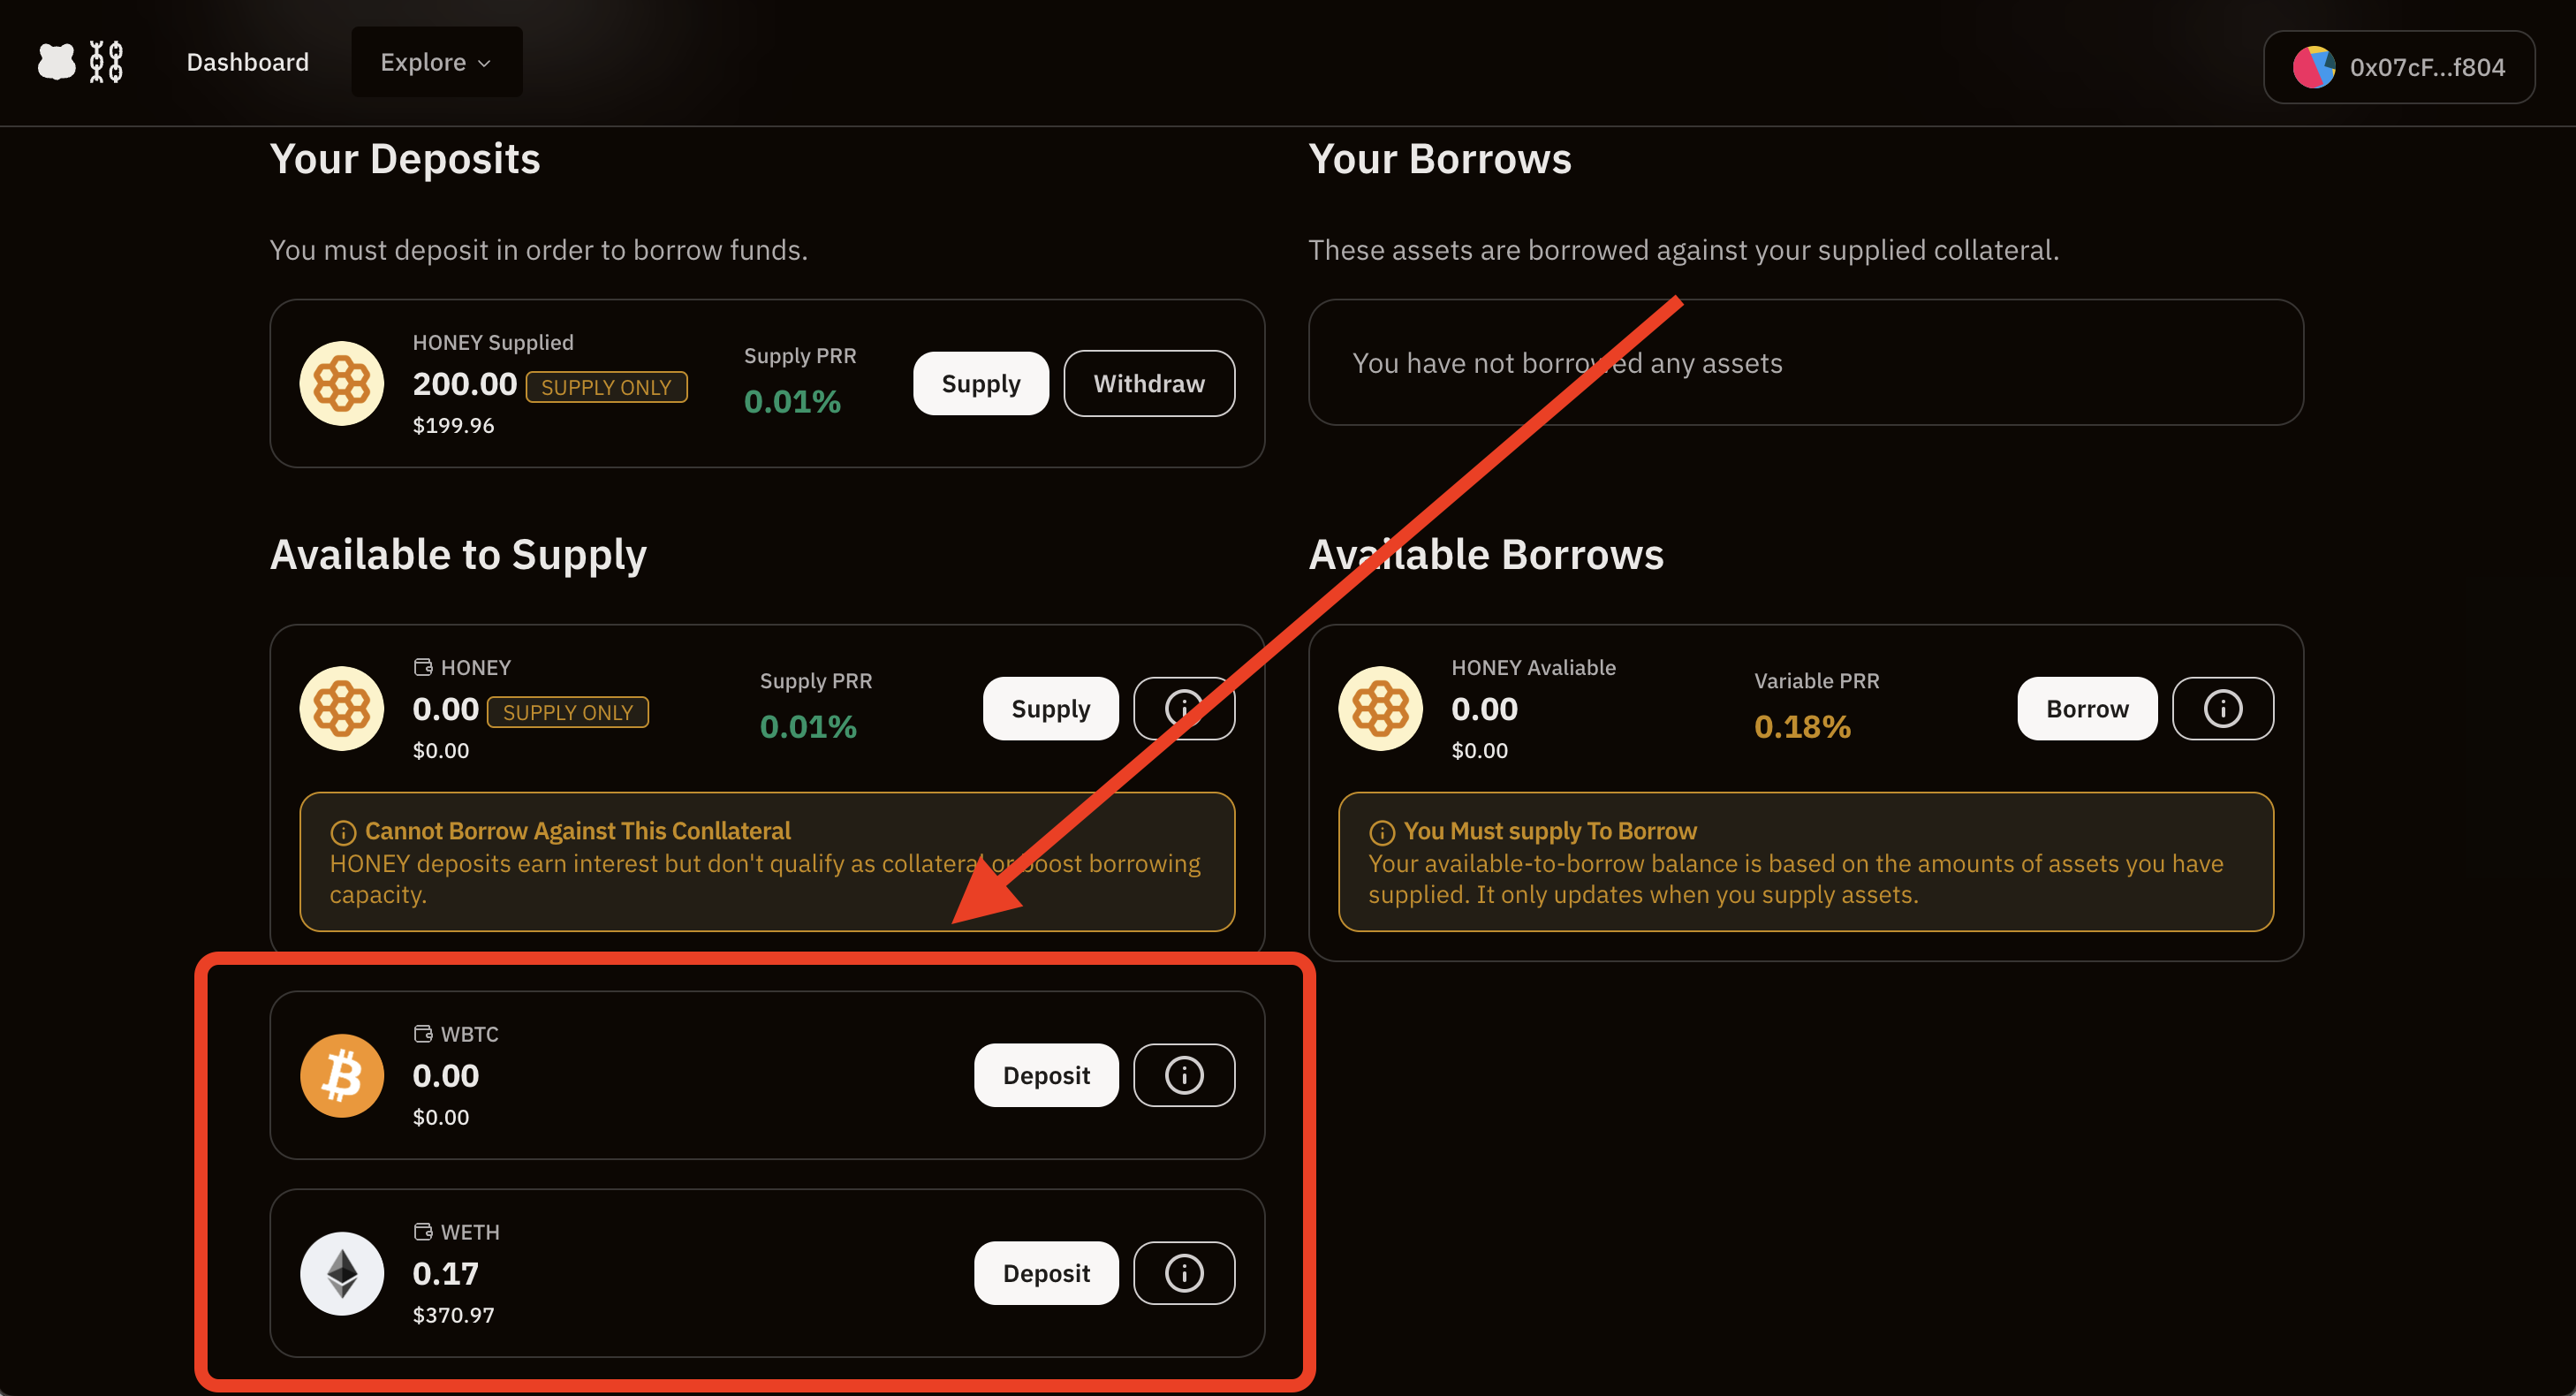
Choose the token you would like to deposit, lets deposit WETH for this walkthrough.

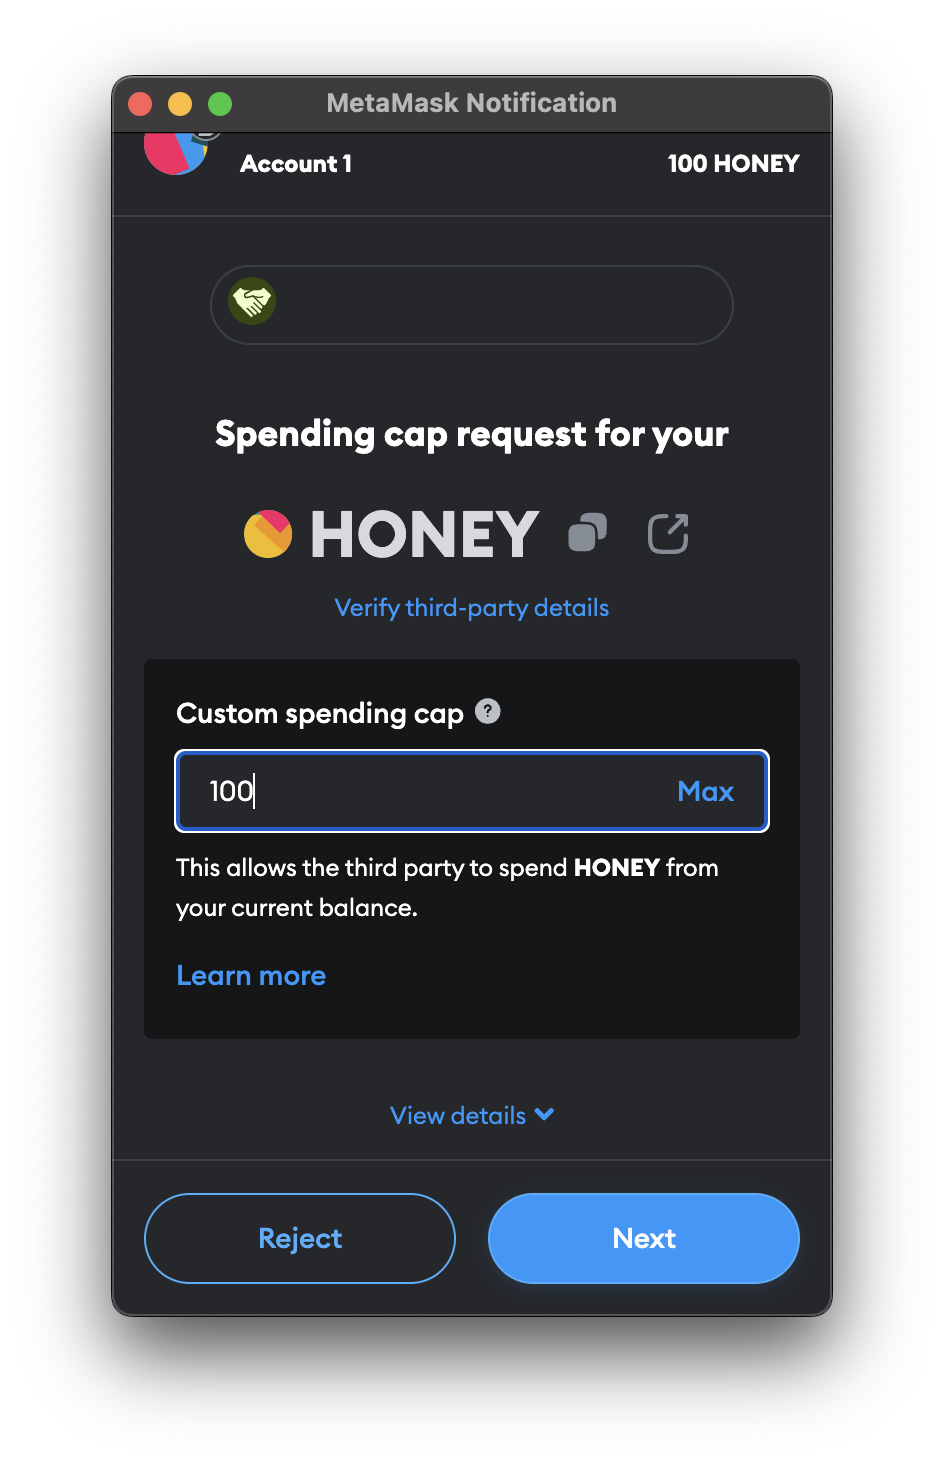
Approve the spending cap using your wallet!
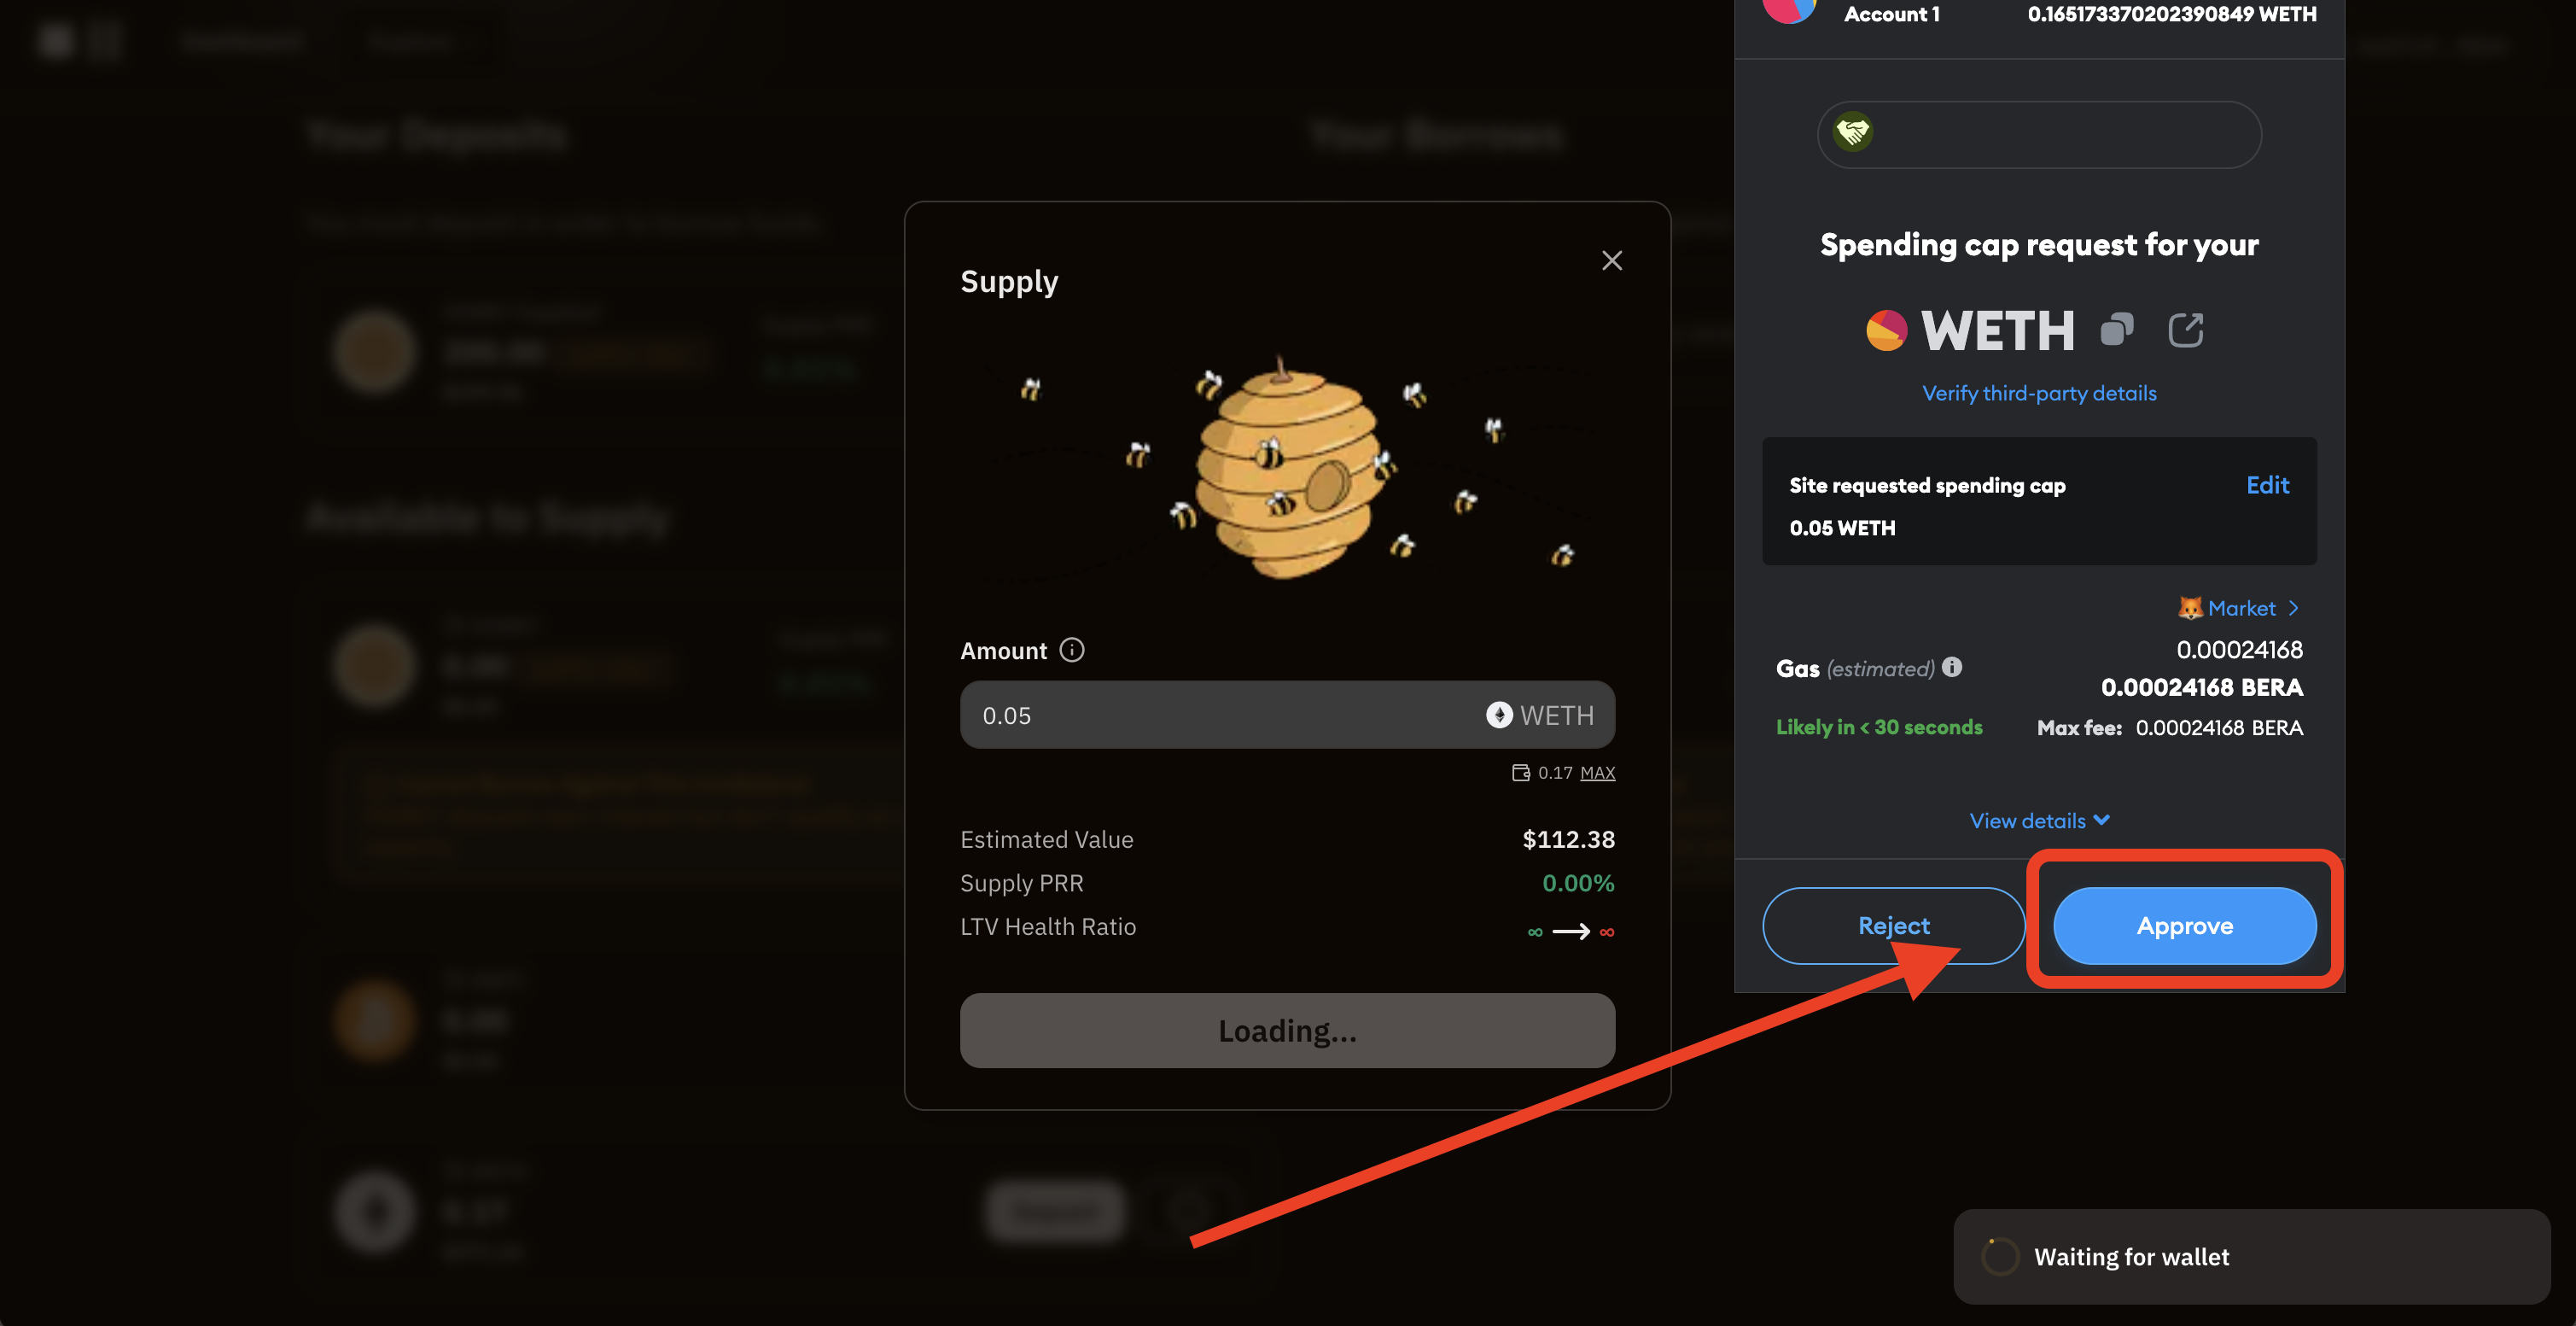
Modify the exiting spending cap if you want to. Recommended to keep it as default value shown by the wallet.
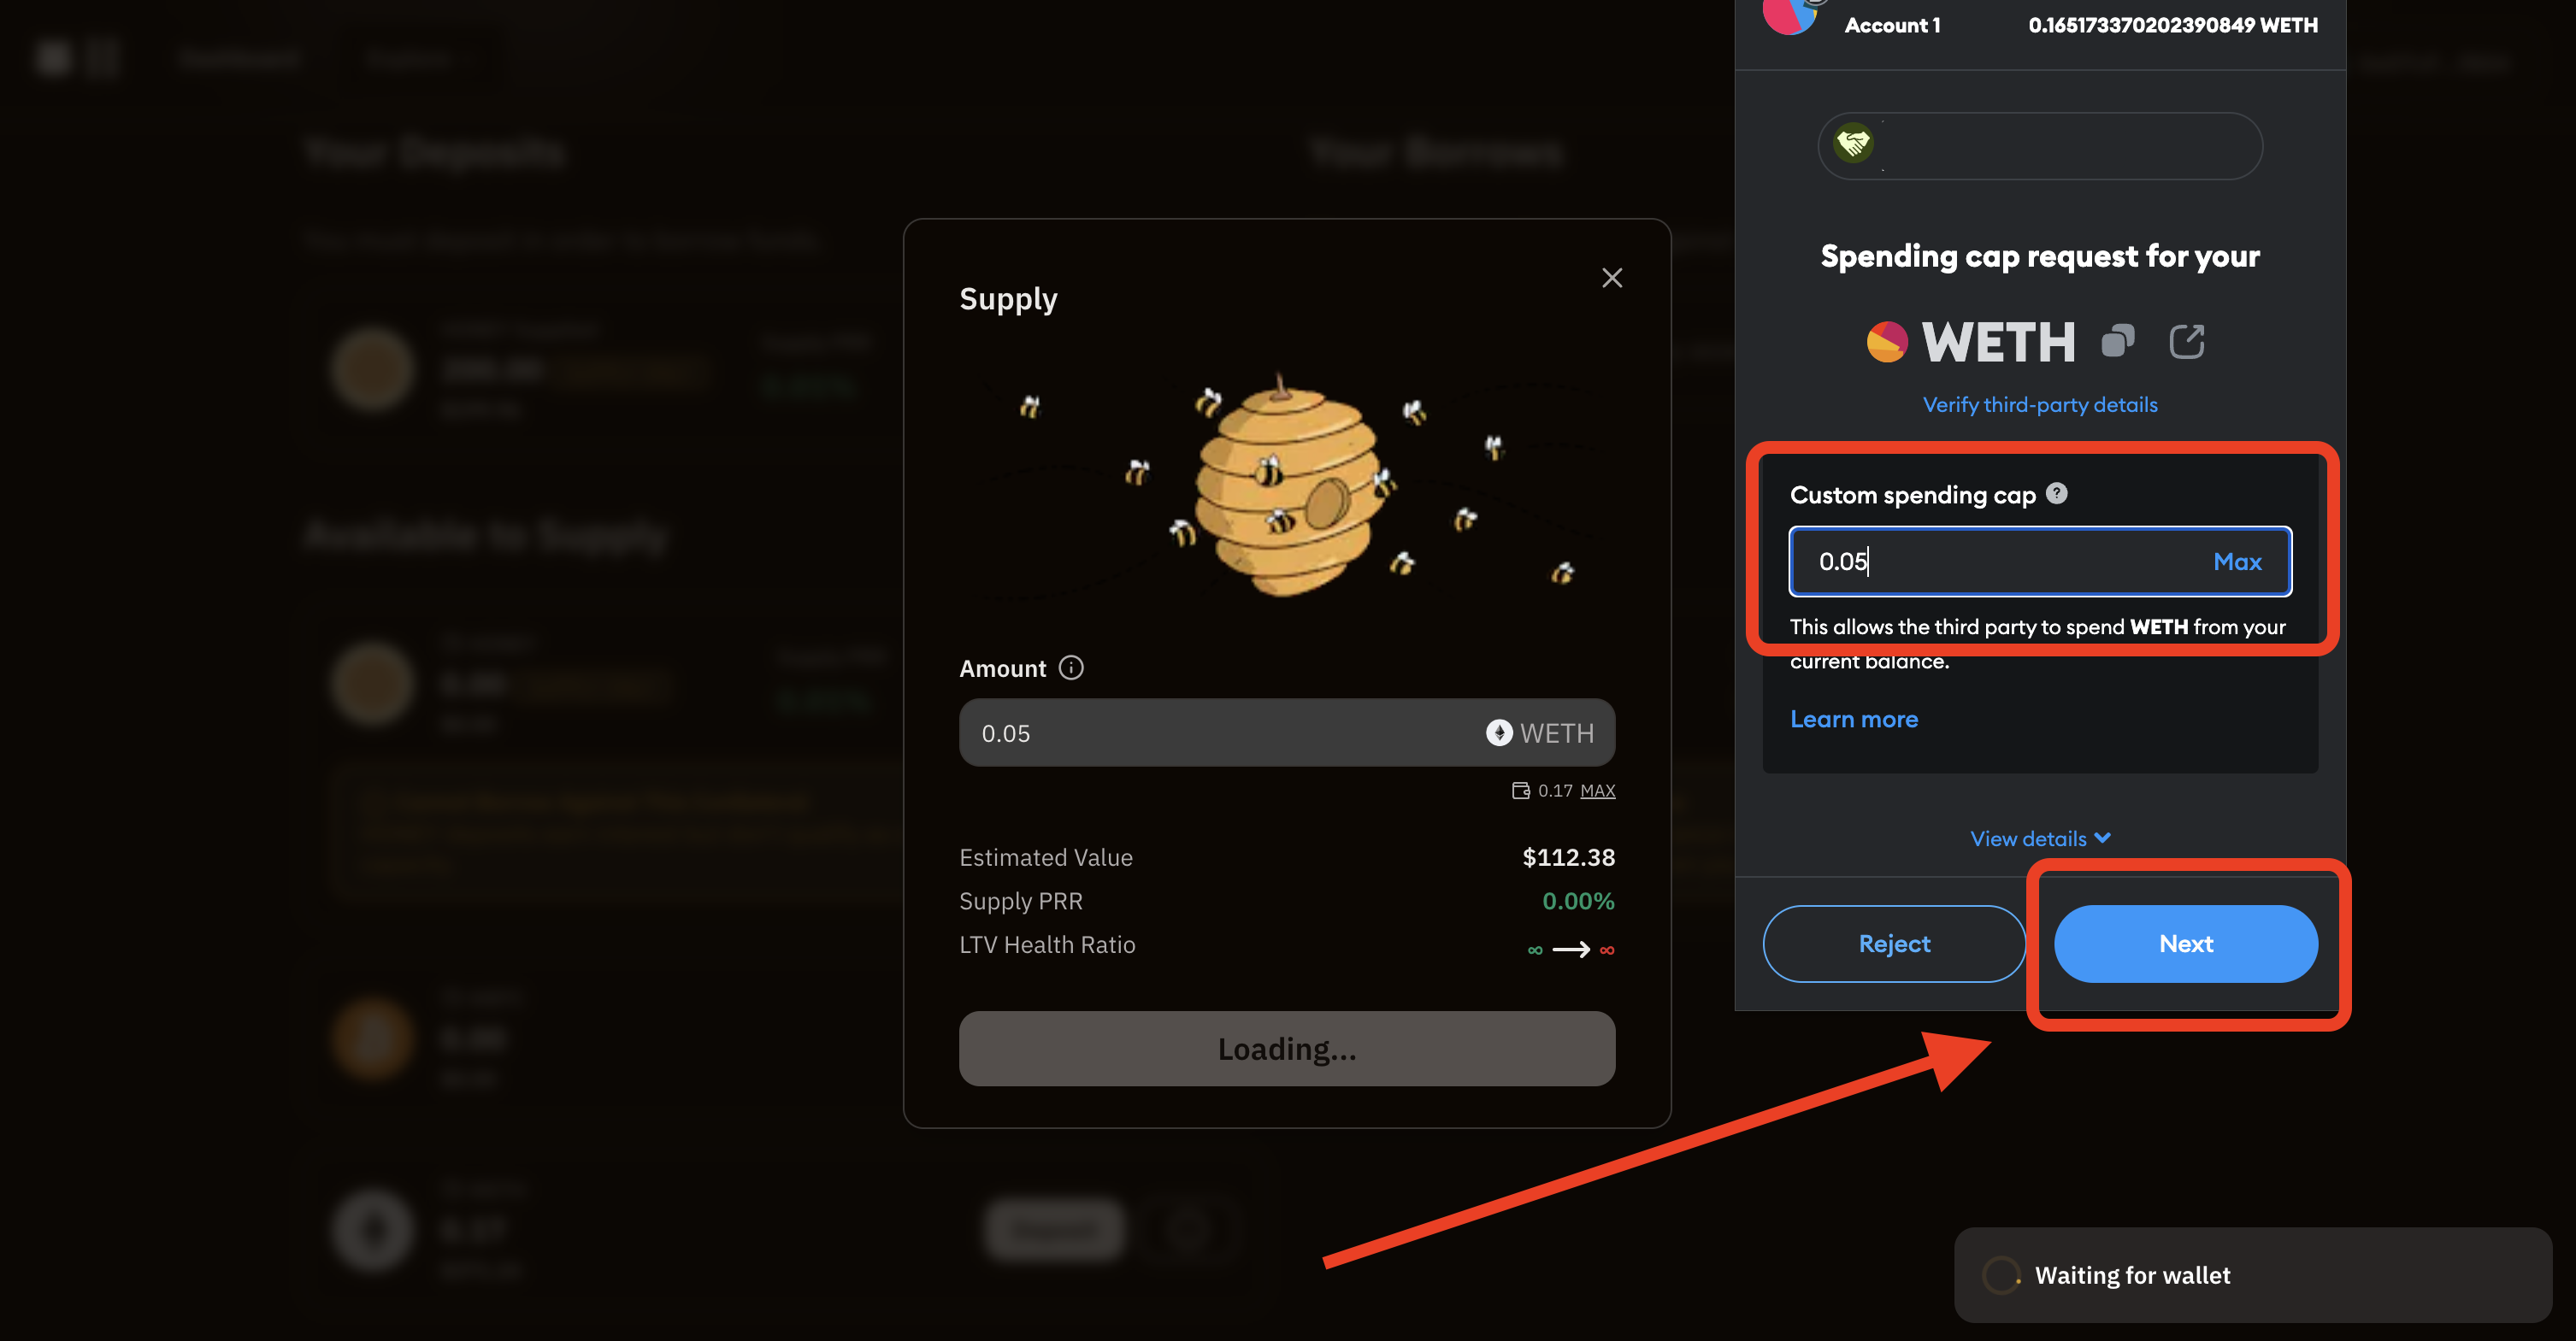
Click on "Next".
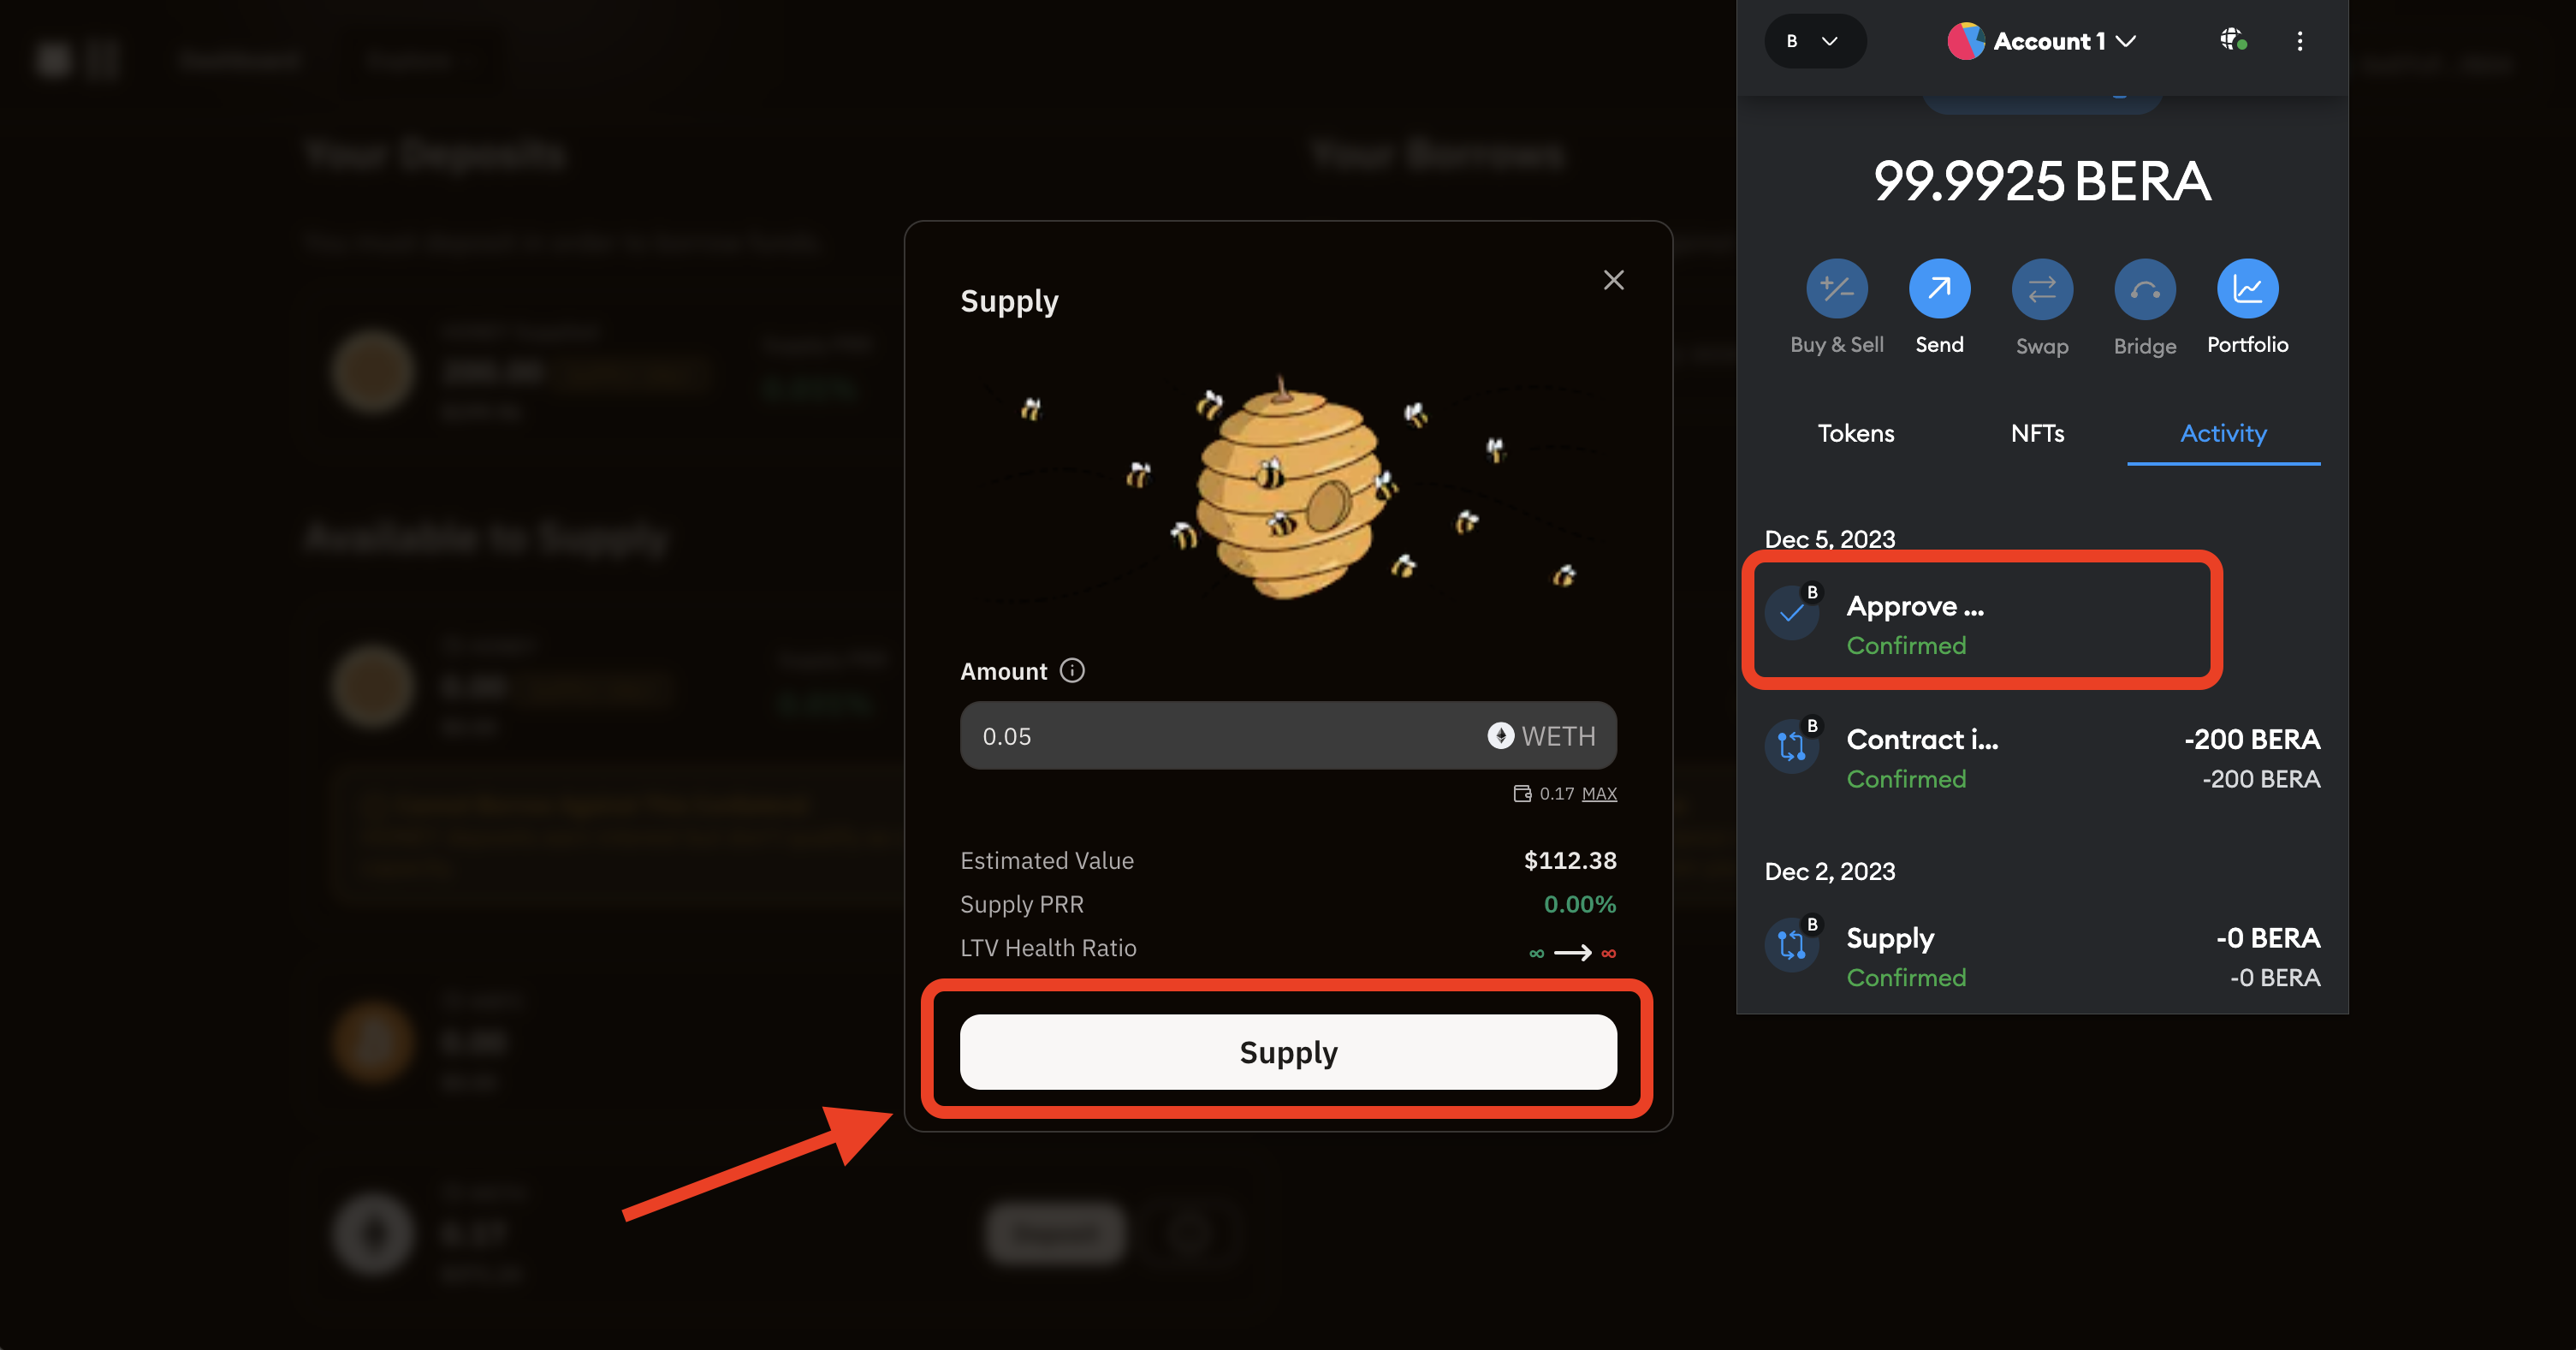
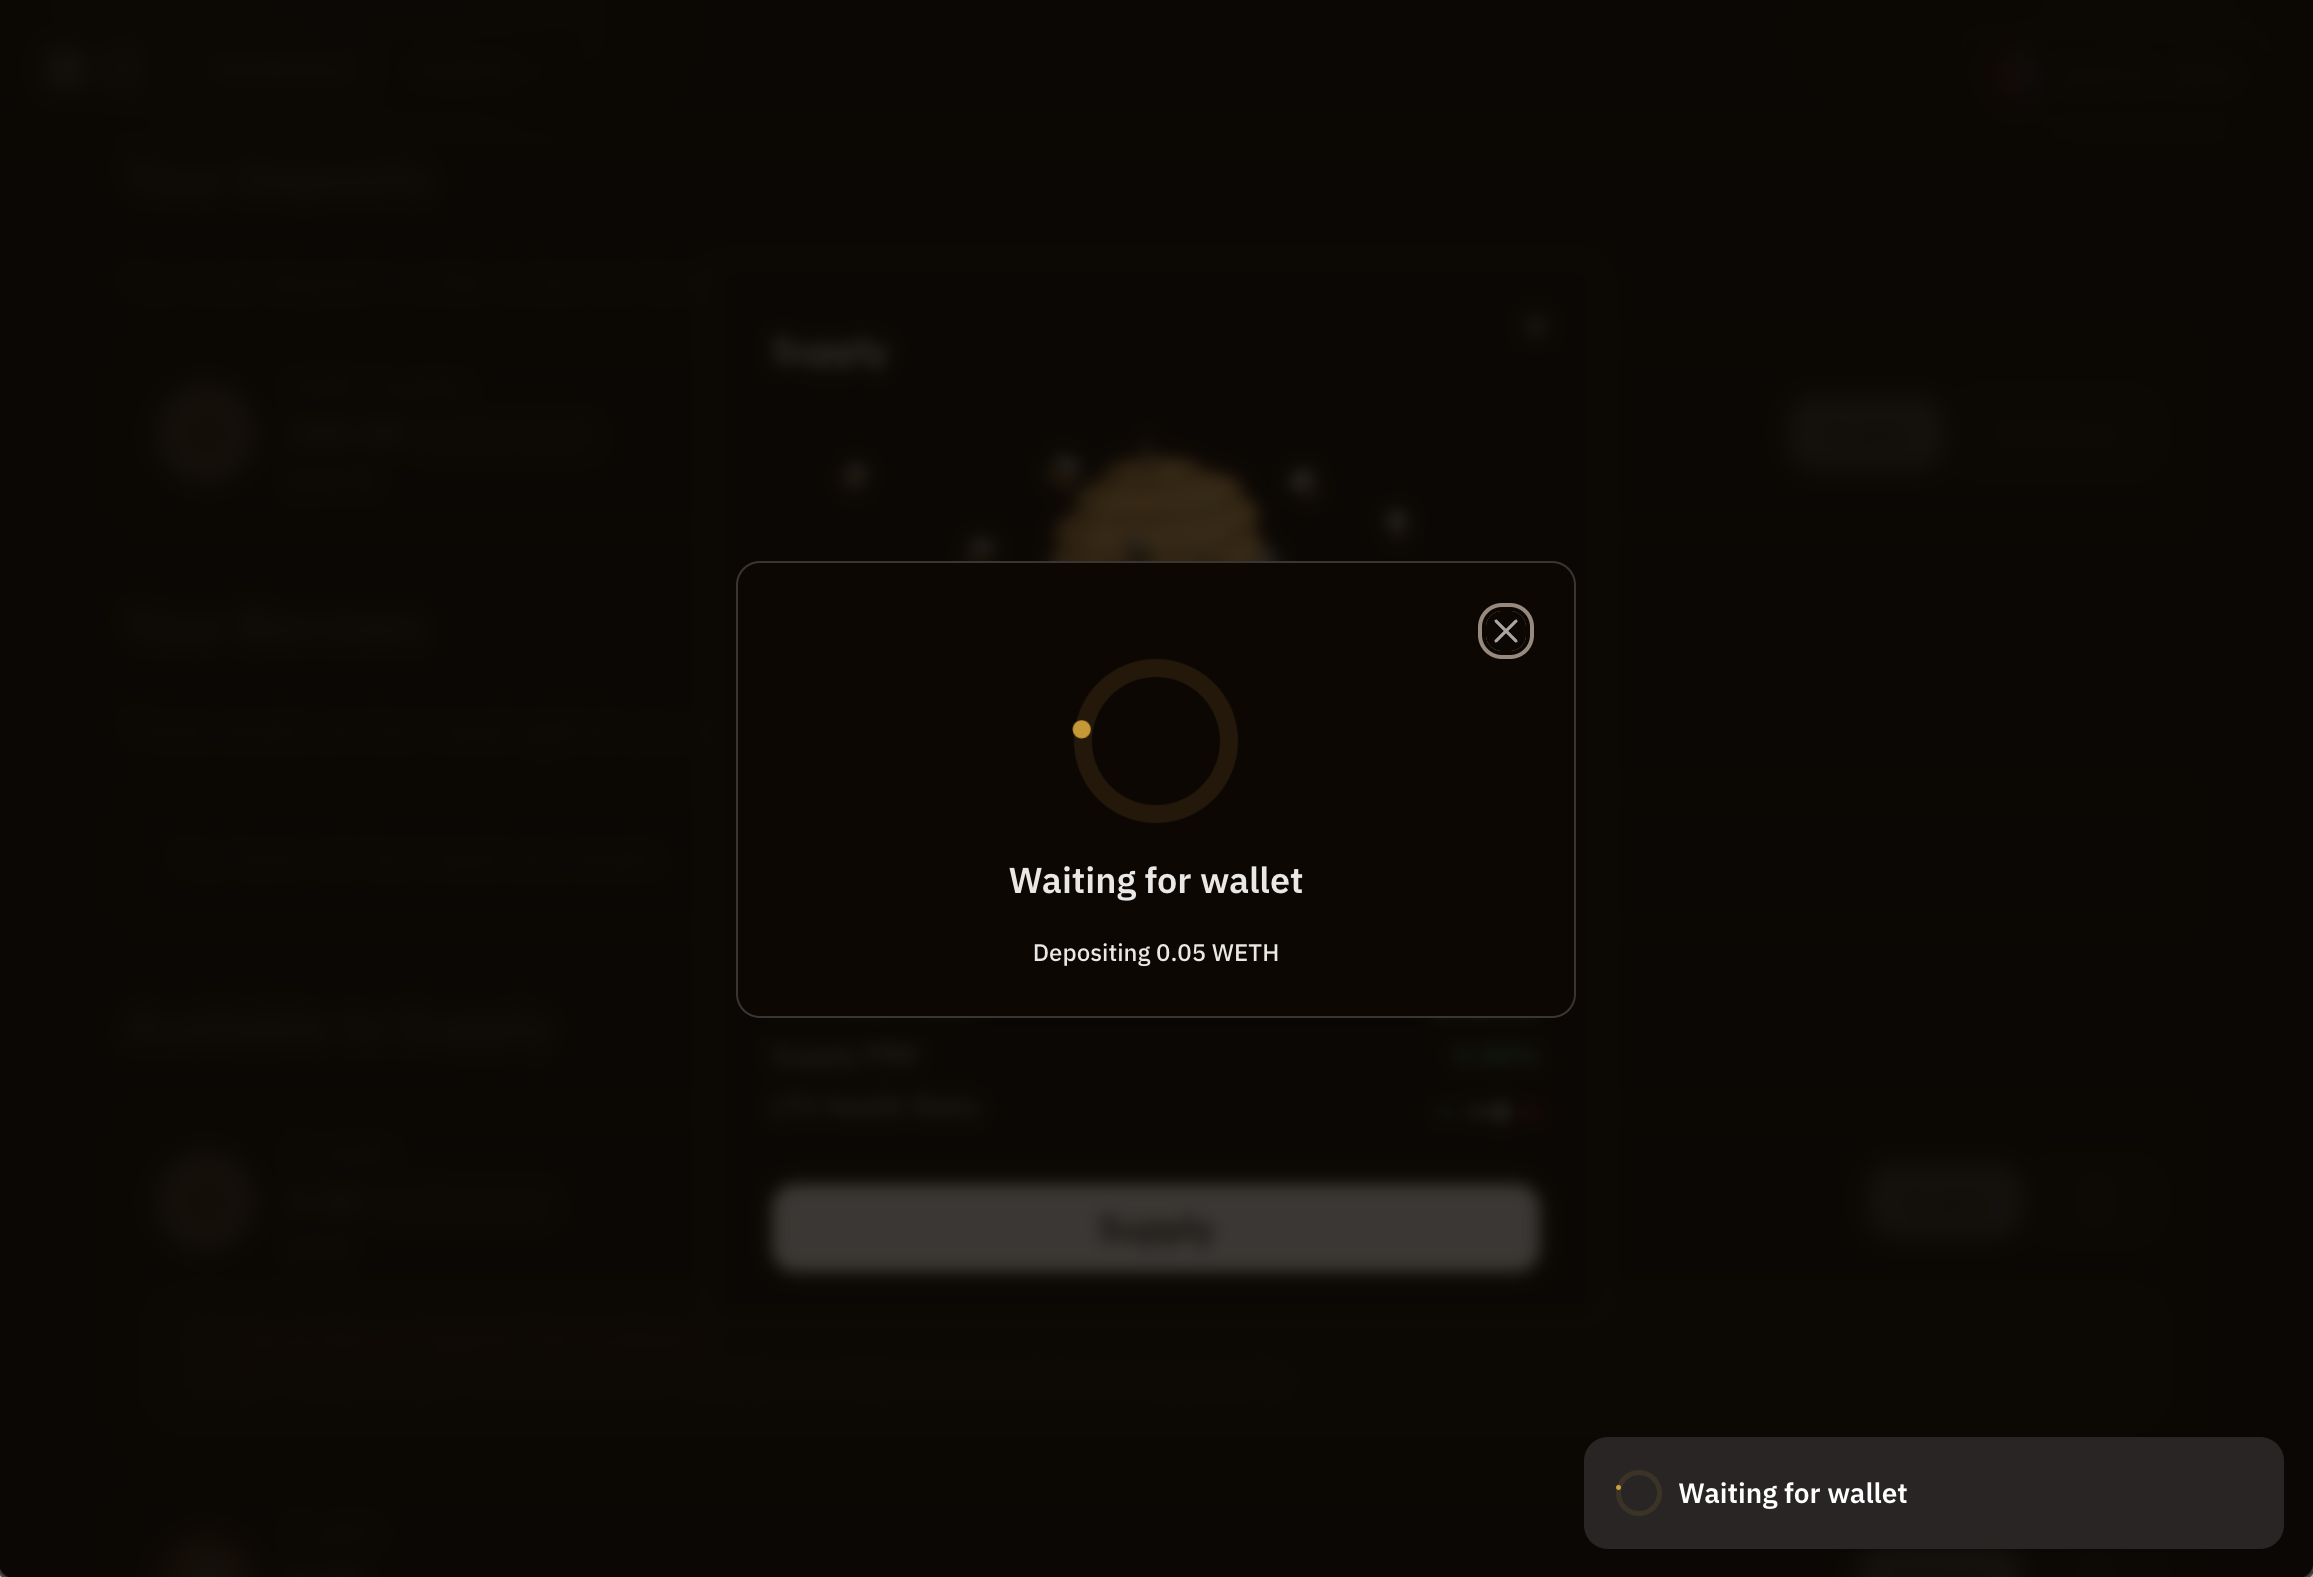
Once the transaction is approved, it will show the status in your wallet as "Approved". Click on "Supply" button on the dApp.
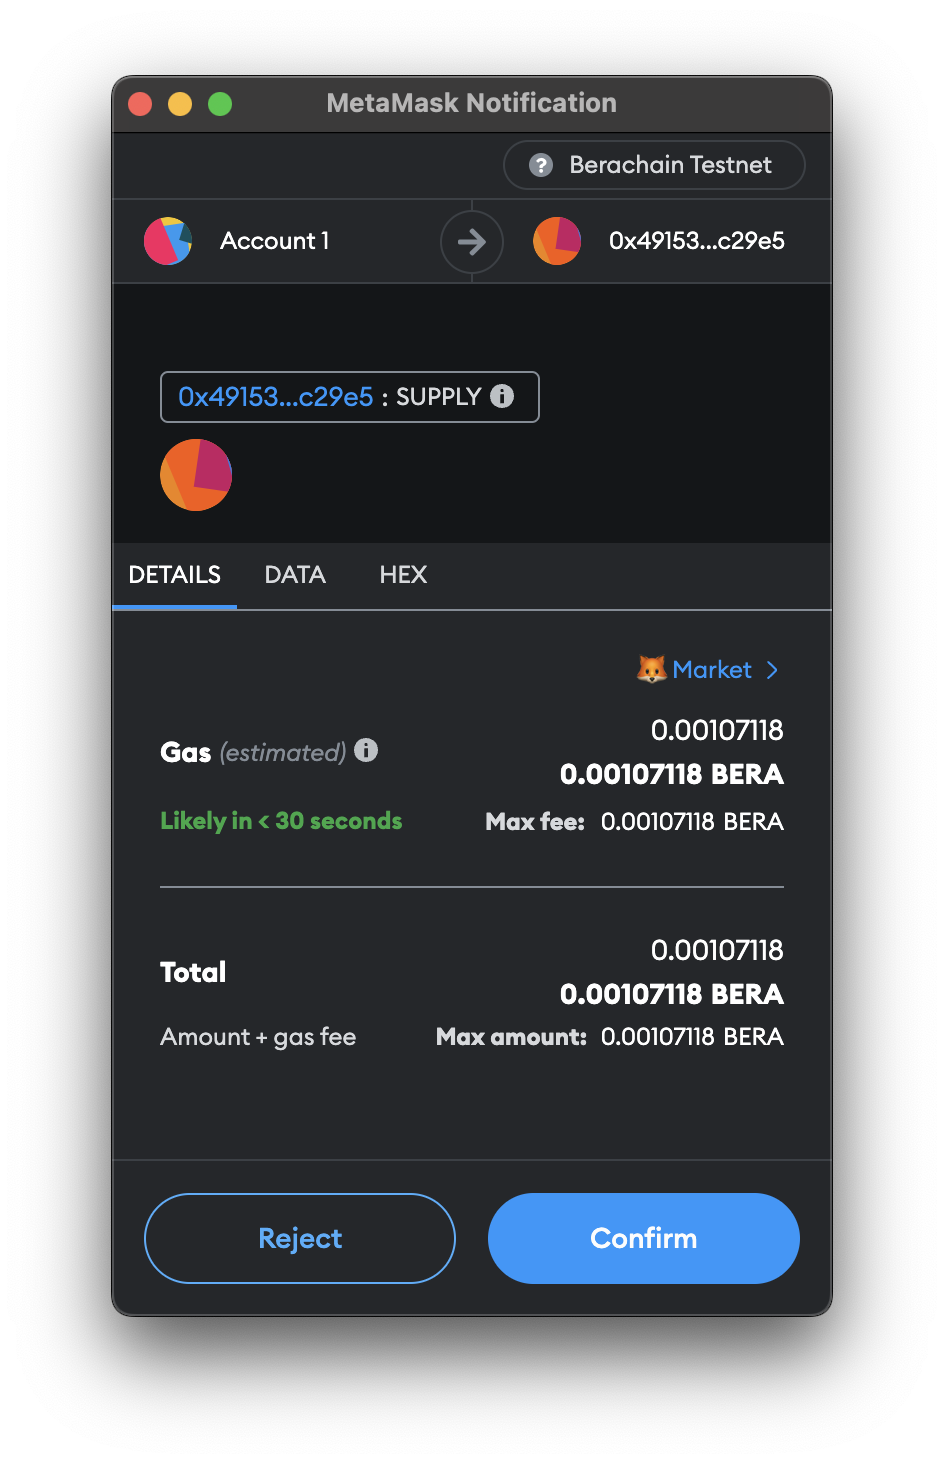
Confirm the transaction by your wallet.
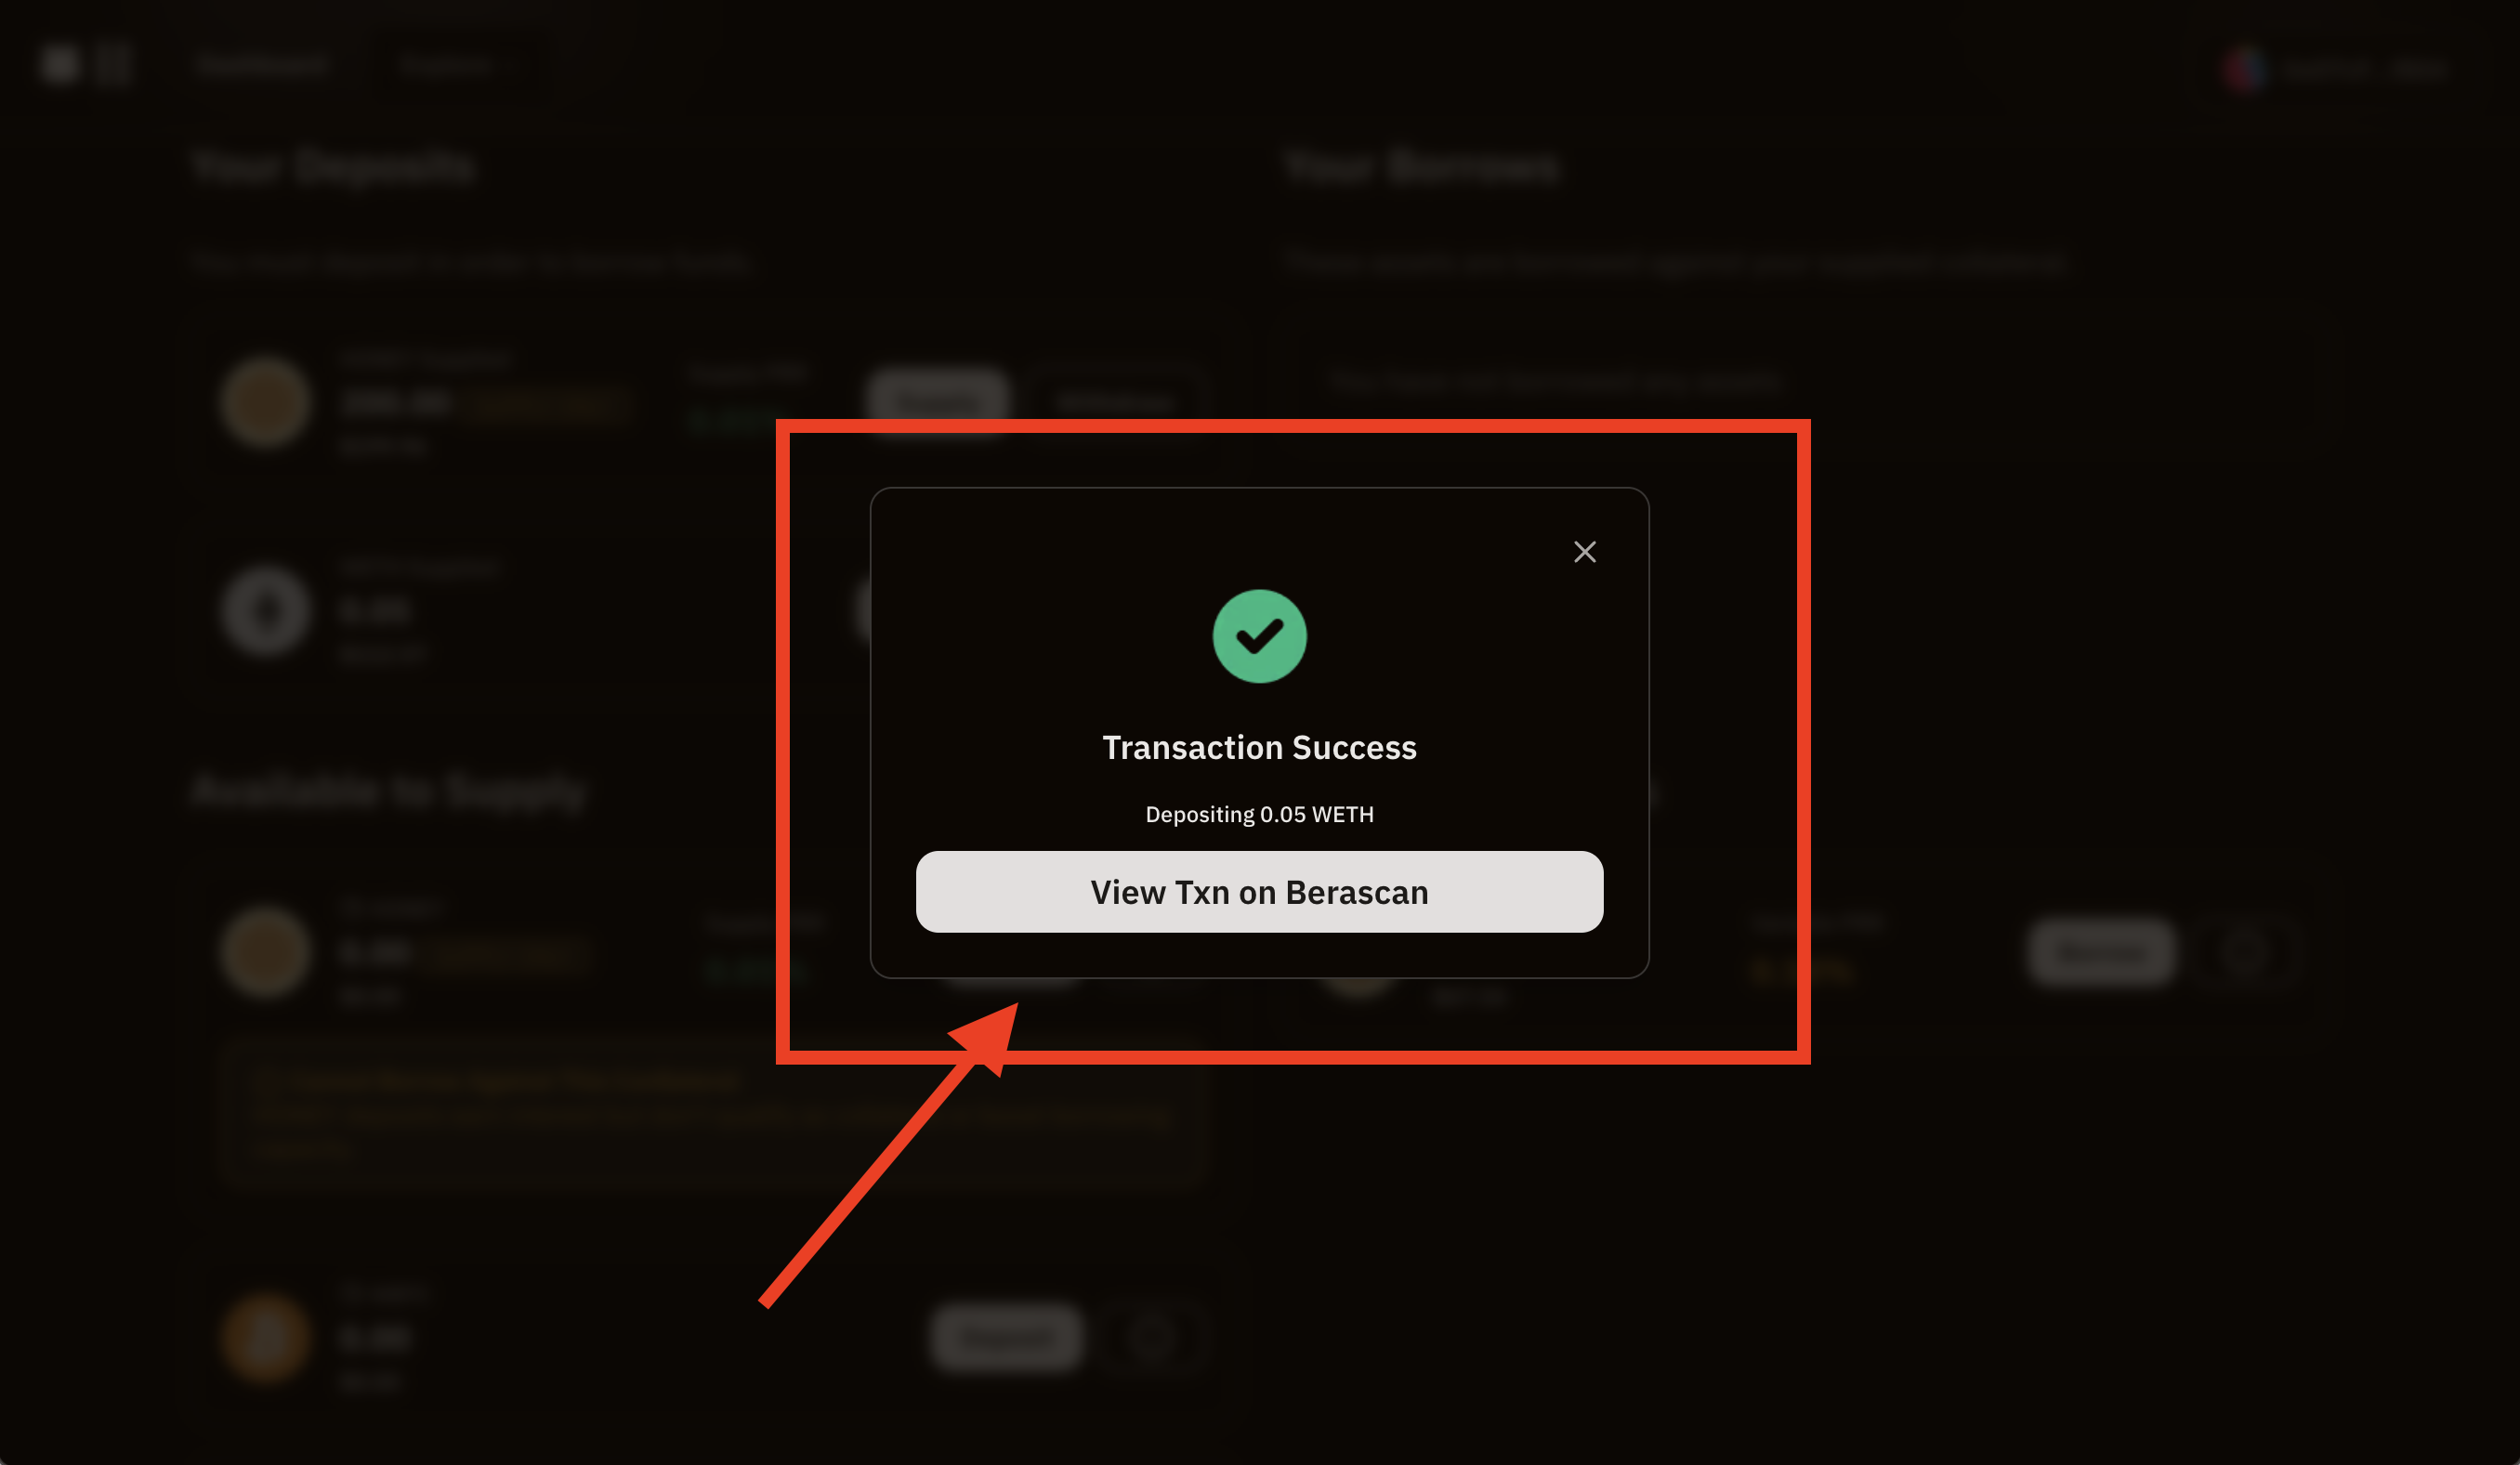
Transaction should be successful.
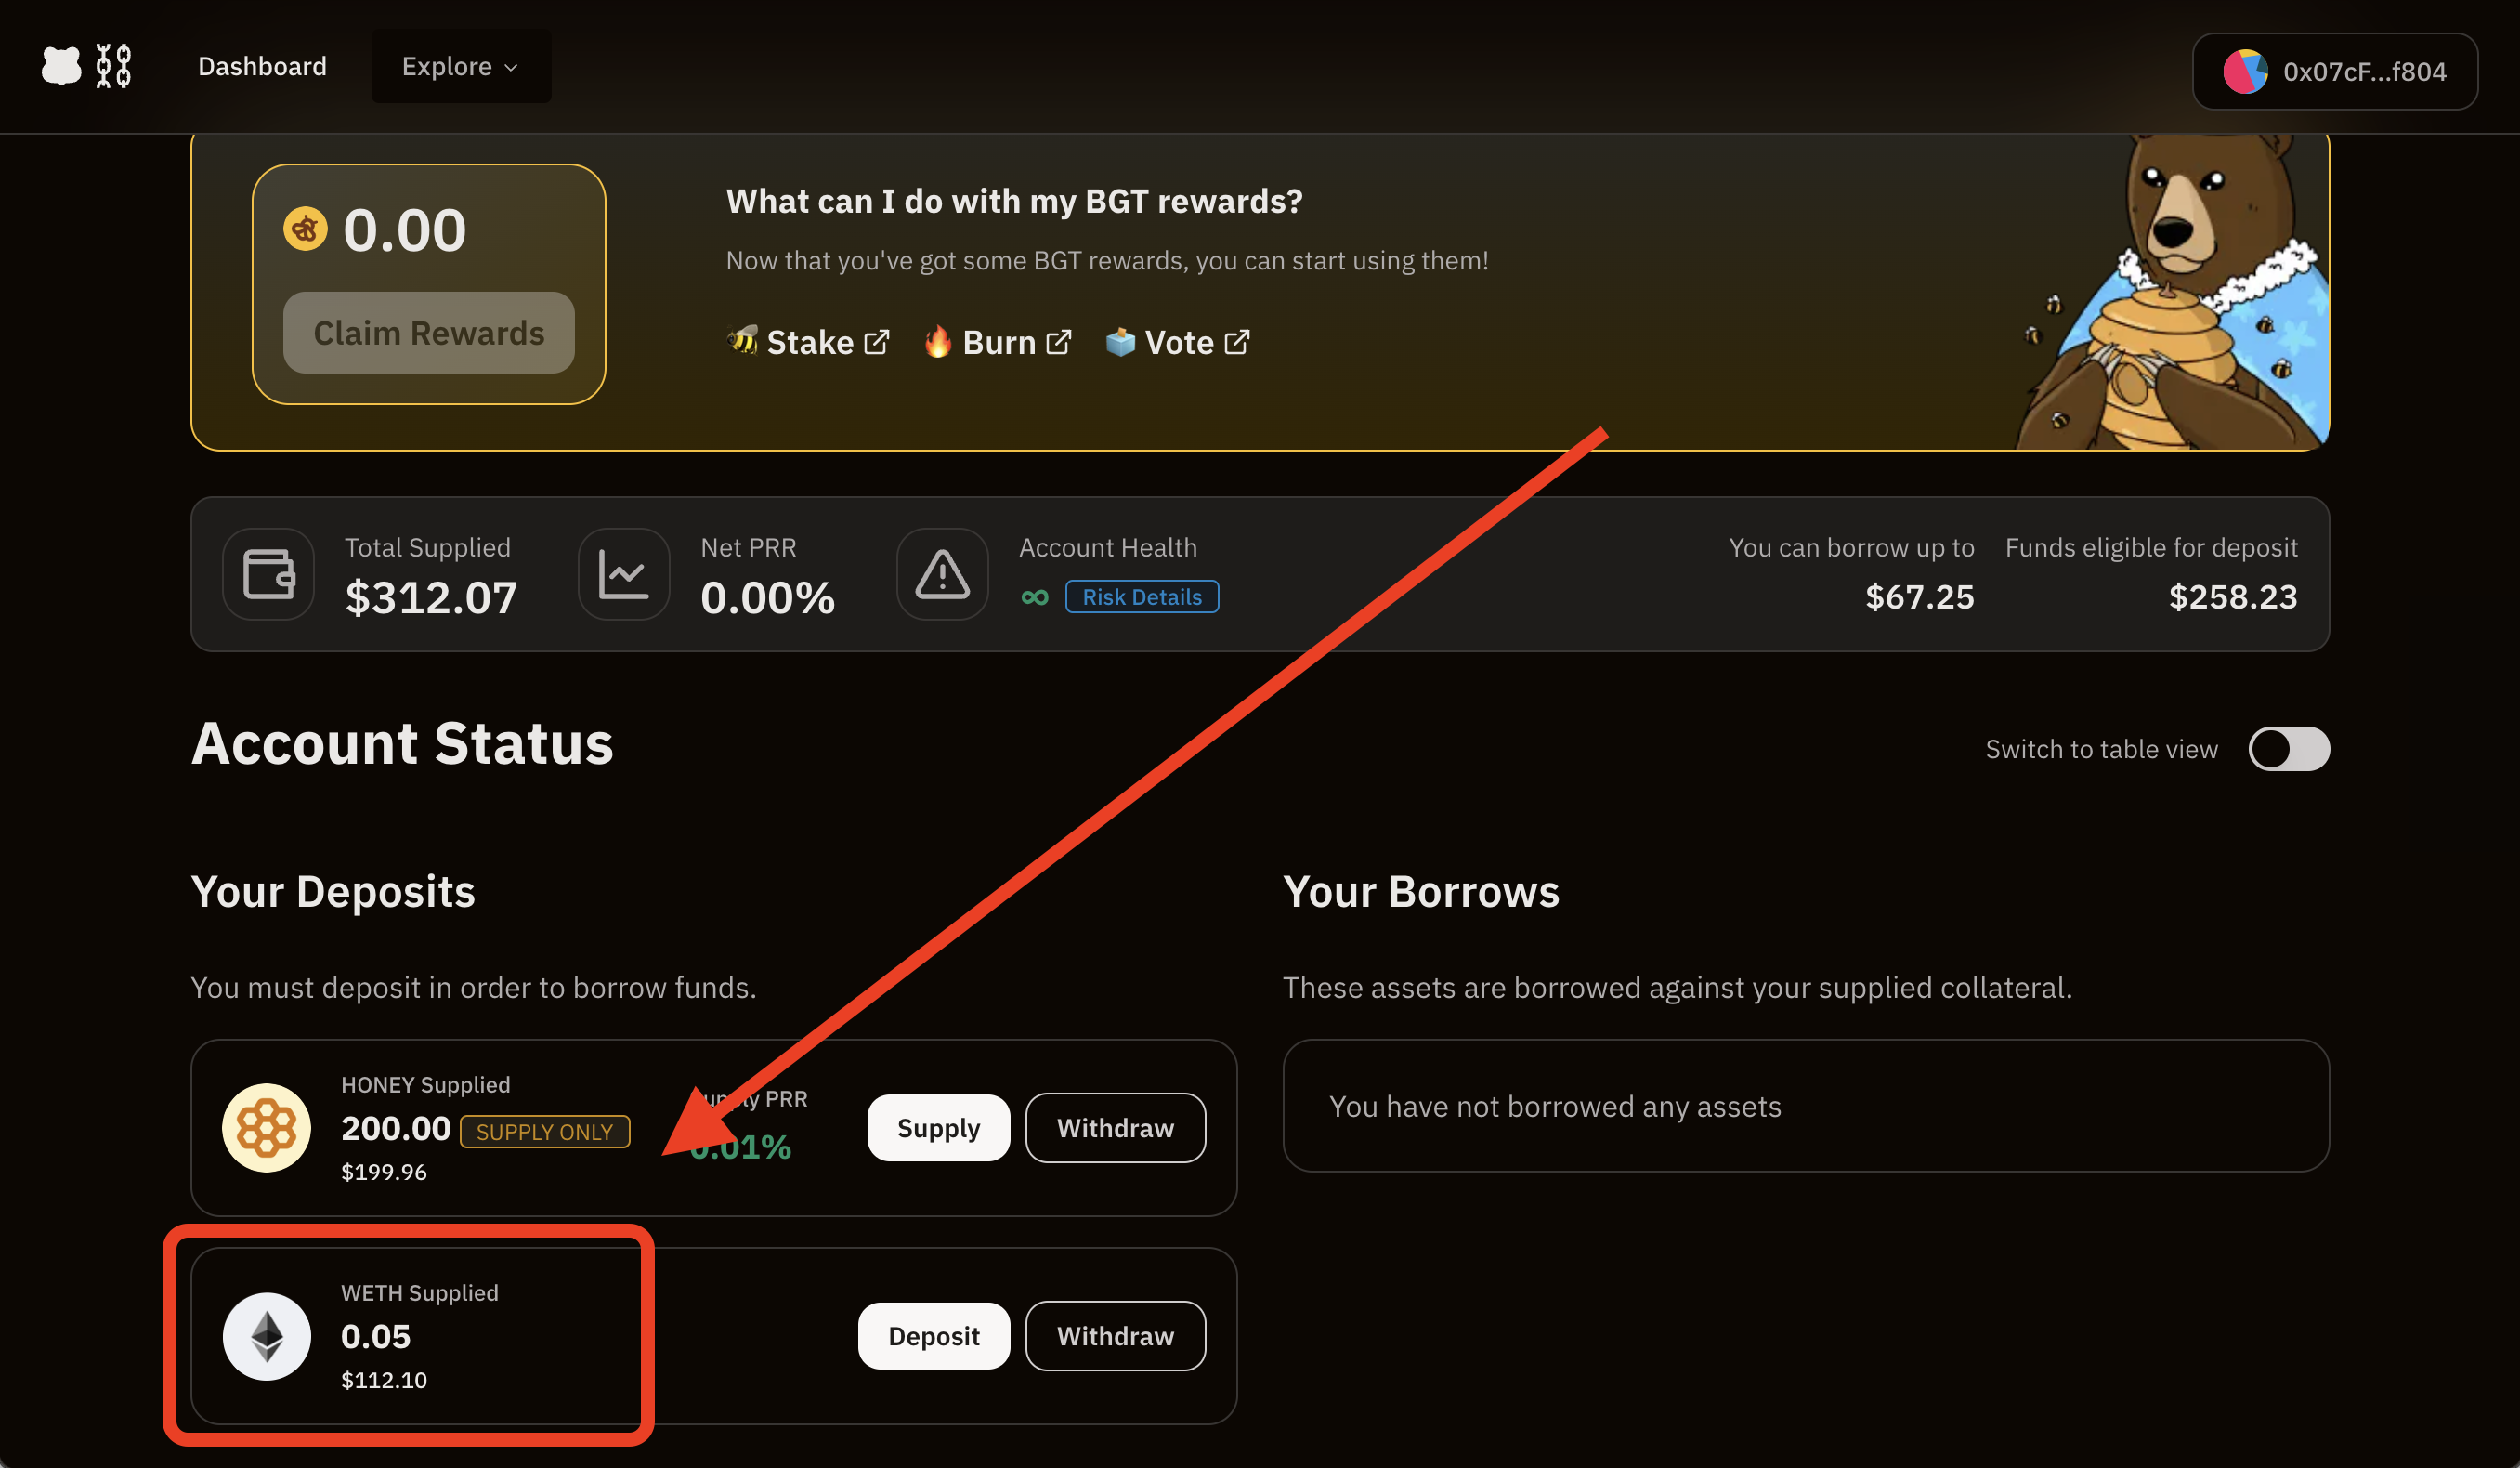
You can confirm your deposit by visiting the dashboards page and check "Your Deposits" section.
Borrowing
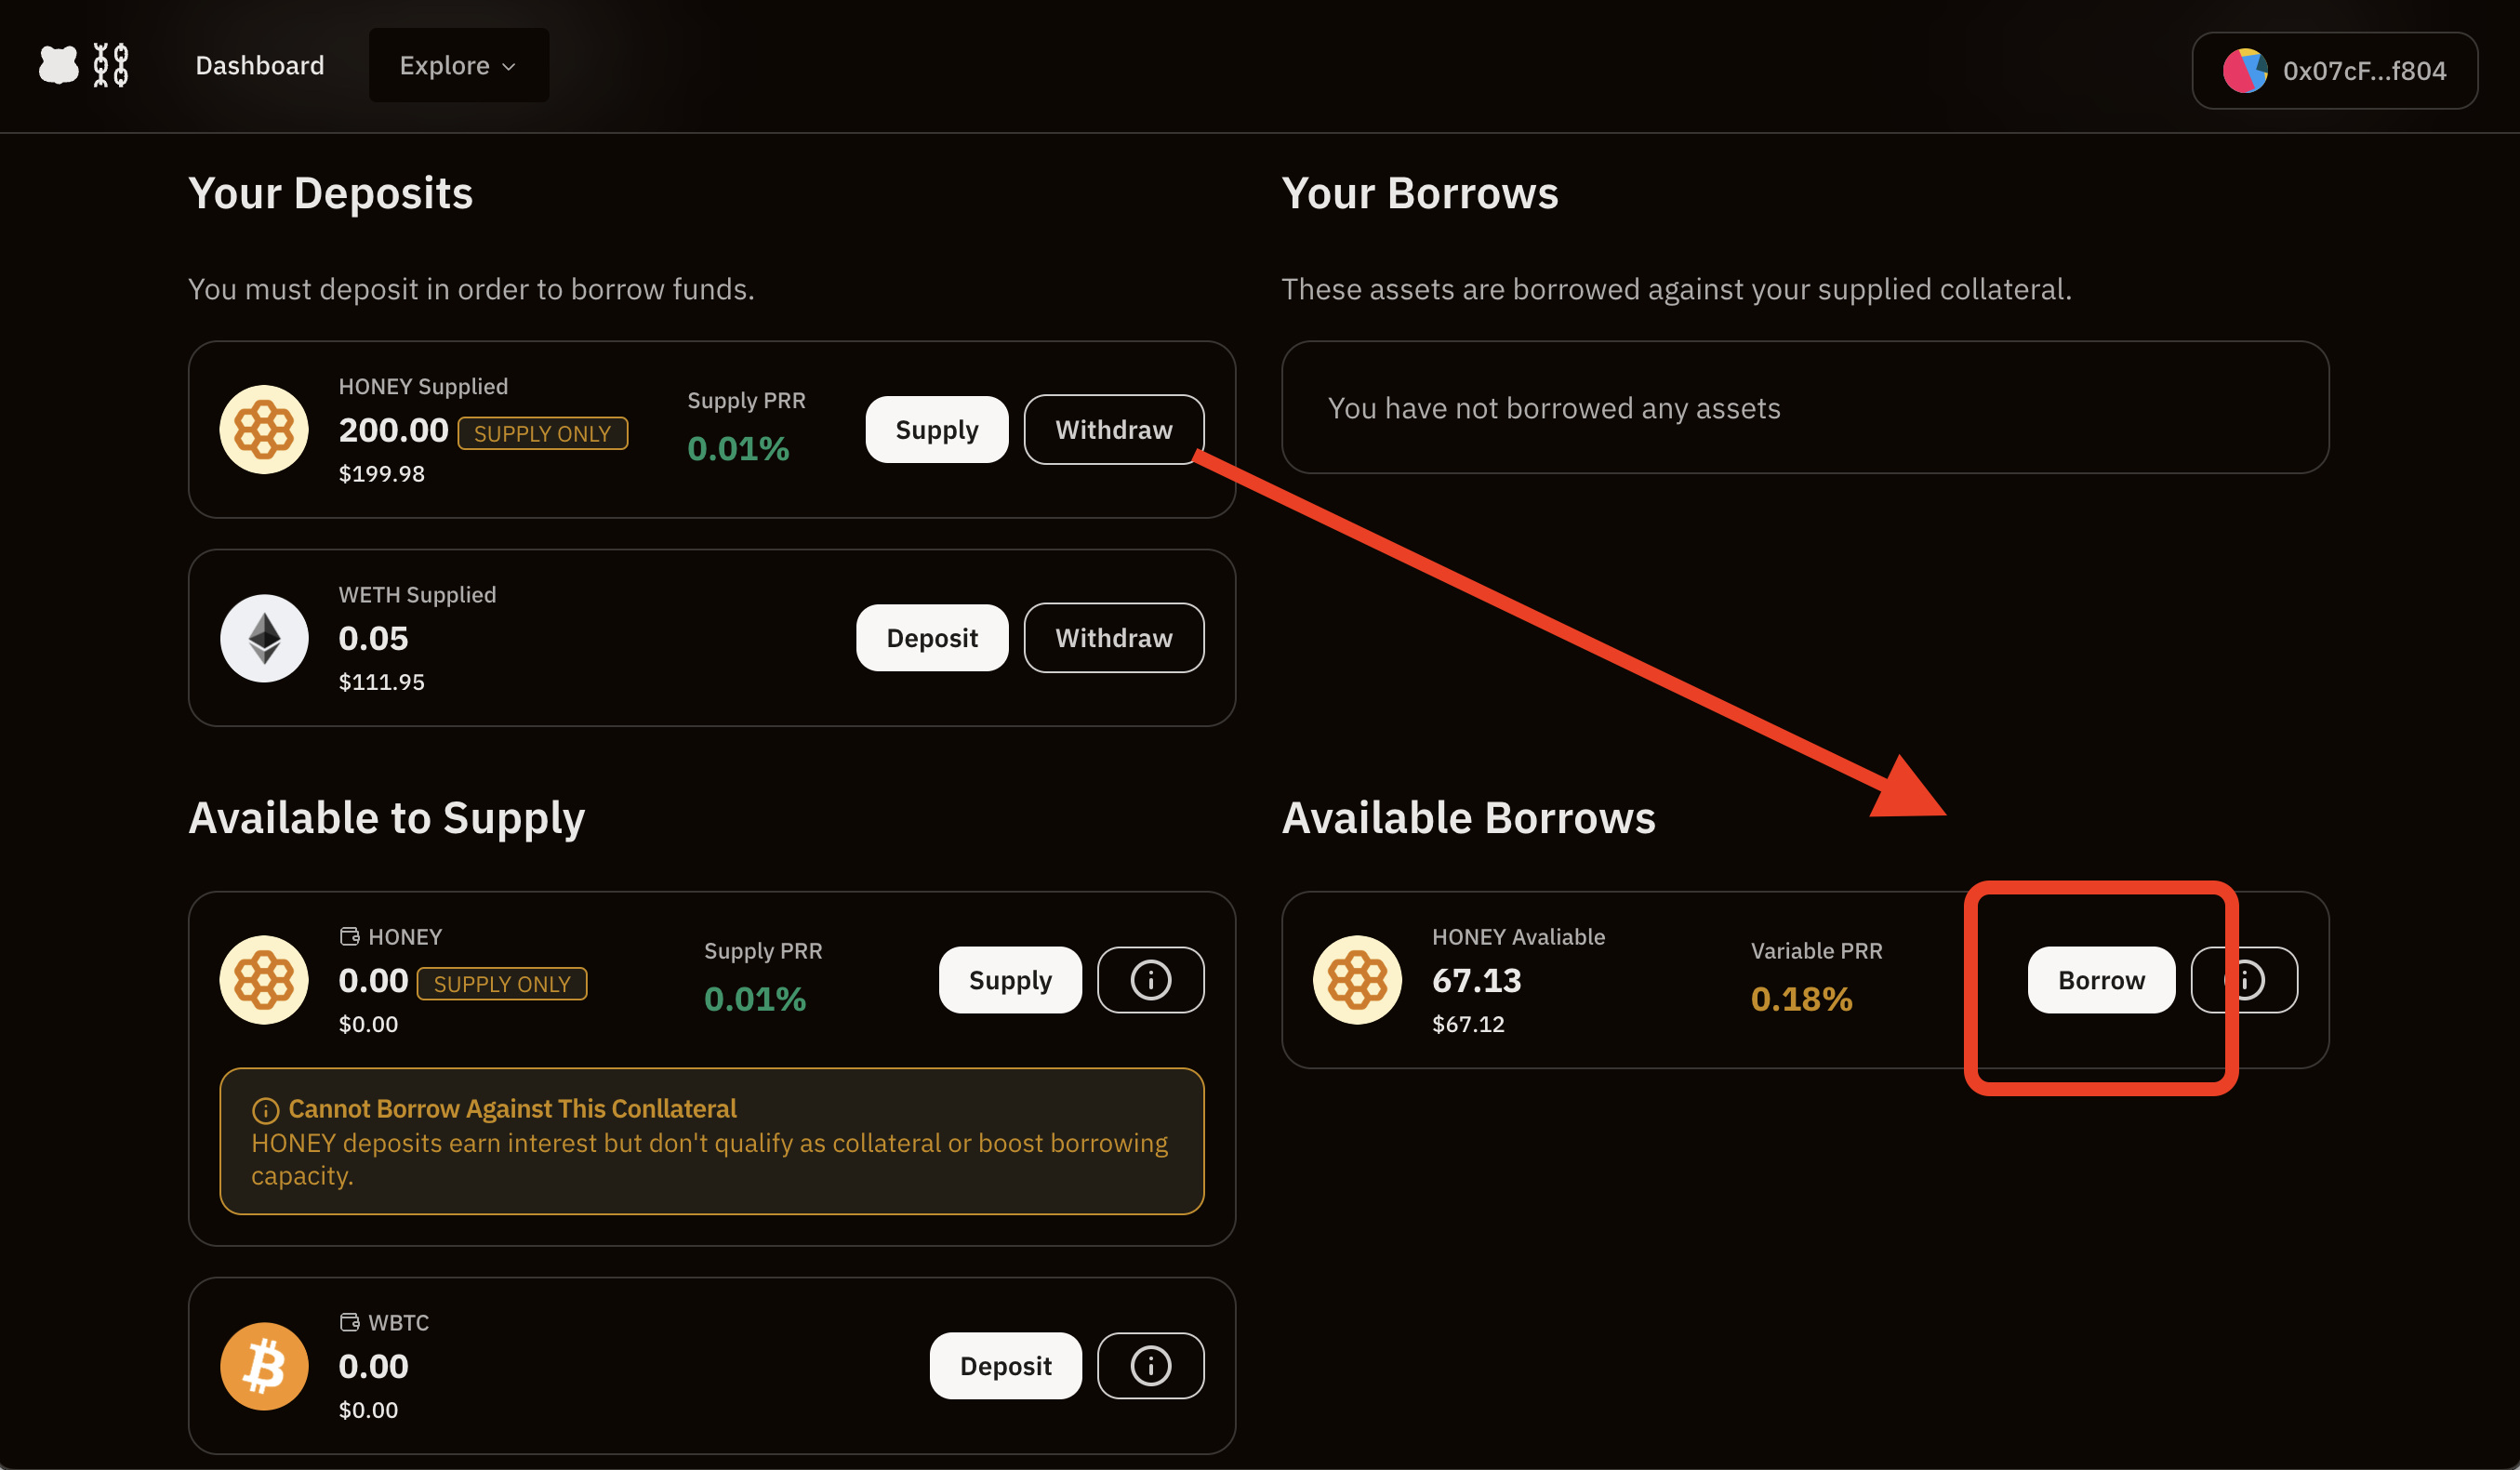
Head to the main dashboard section and click on “Borrow” for the asset you want to borrow.
Set the amount you need based on your available Borrows.
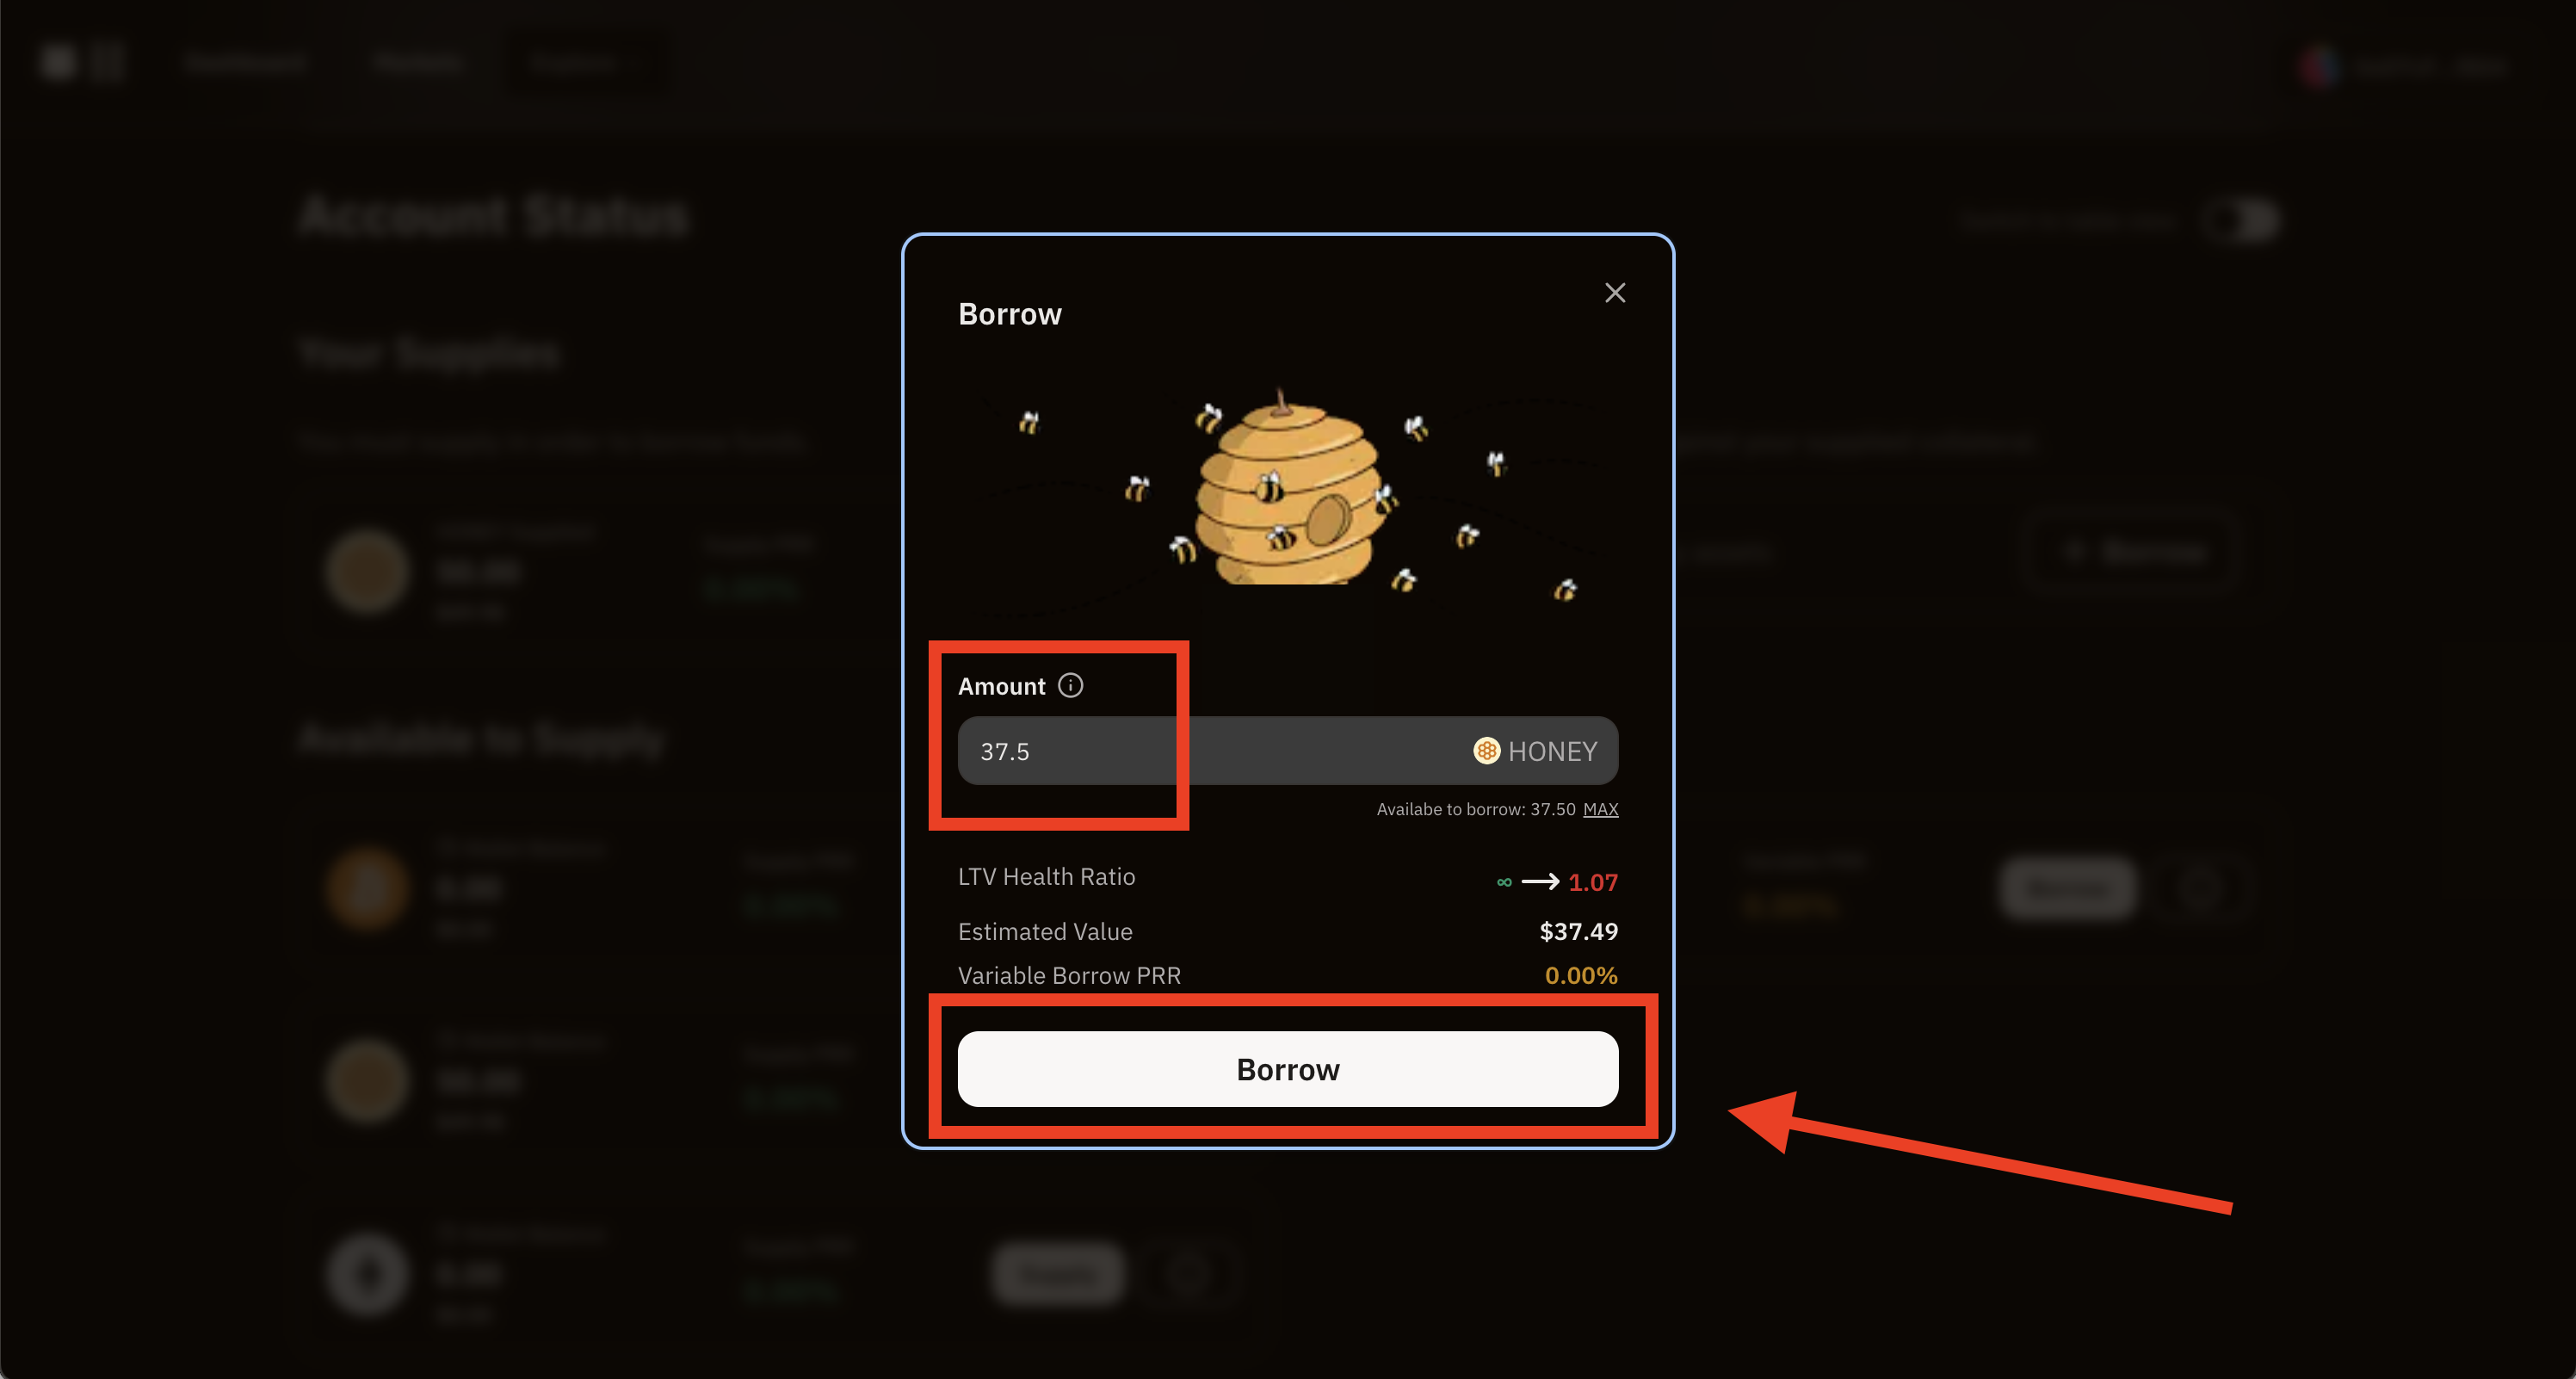
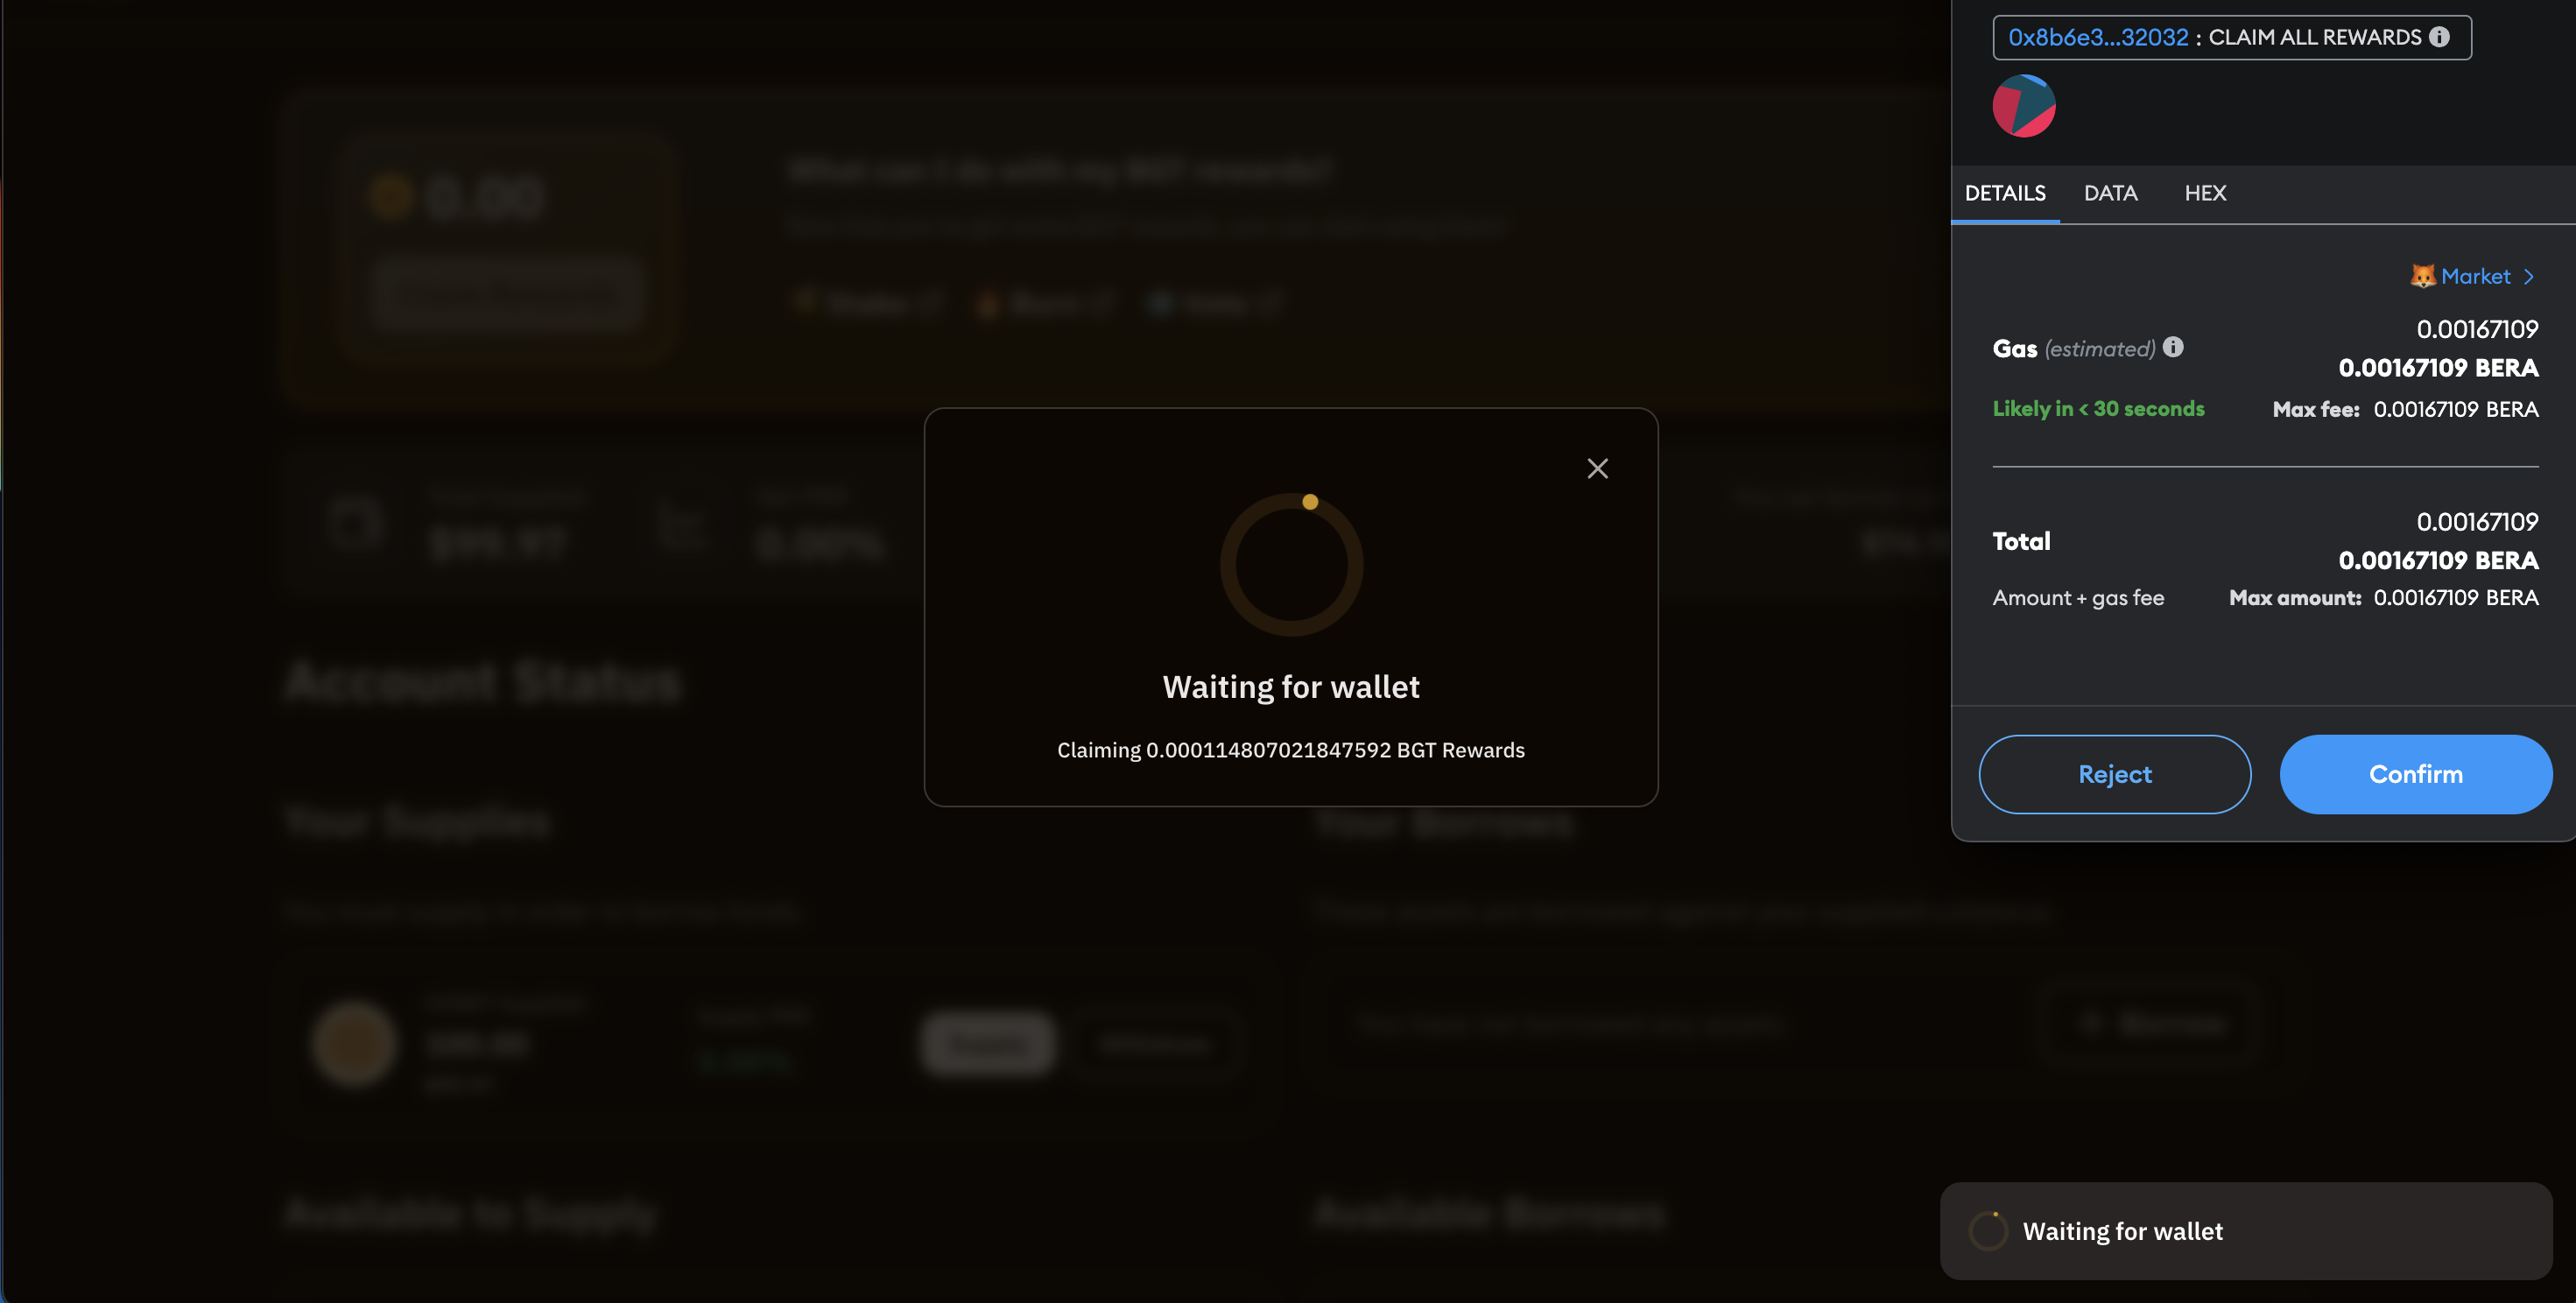
Confirm the amount of that particular asset to borrow, click on Borrow. Confirm the transaction on wallet.
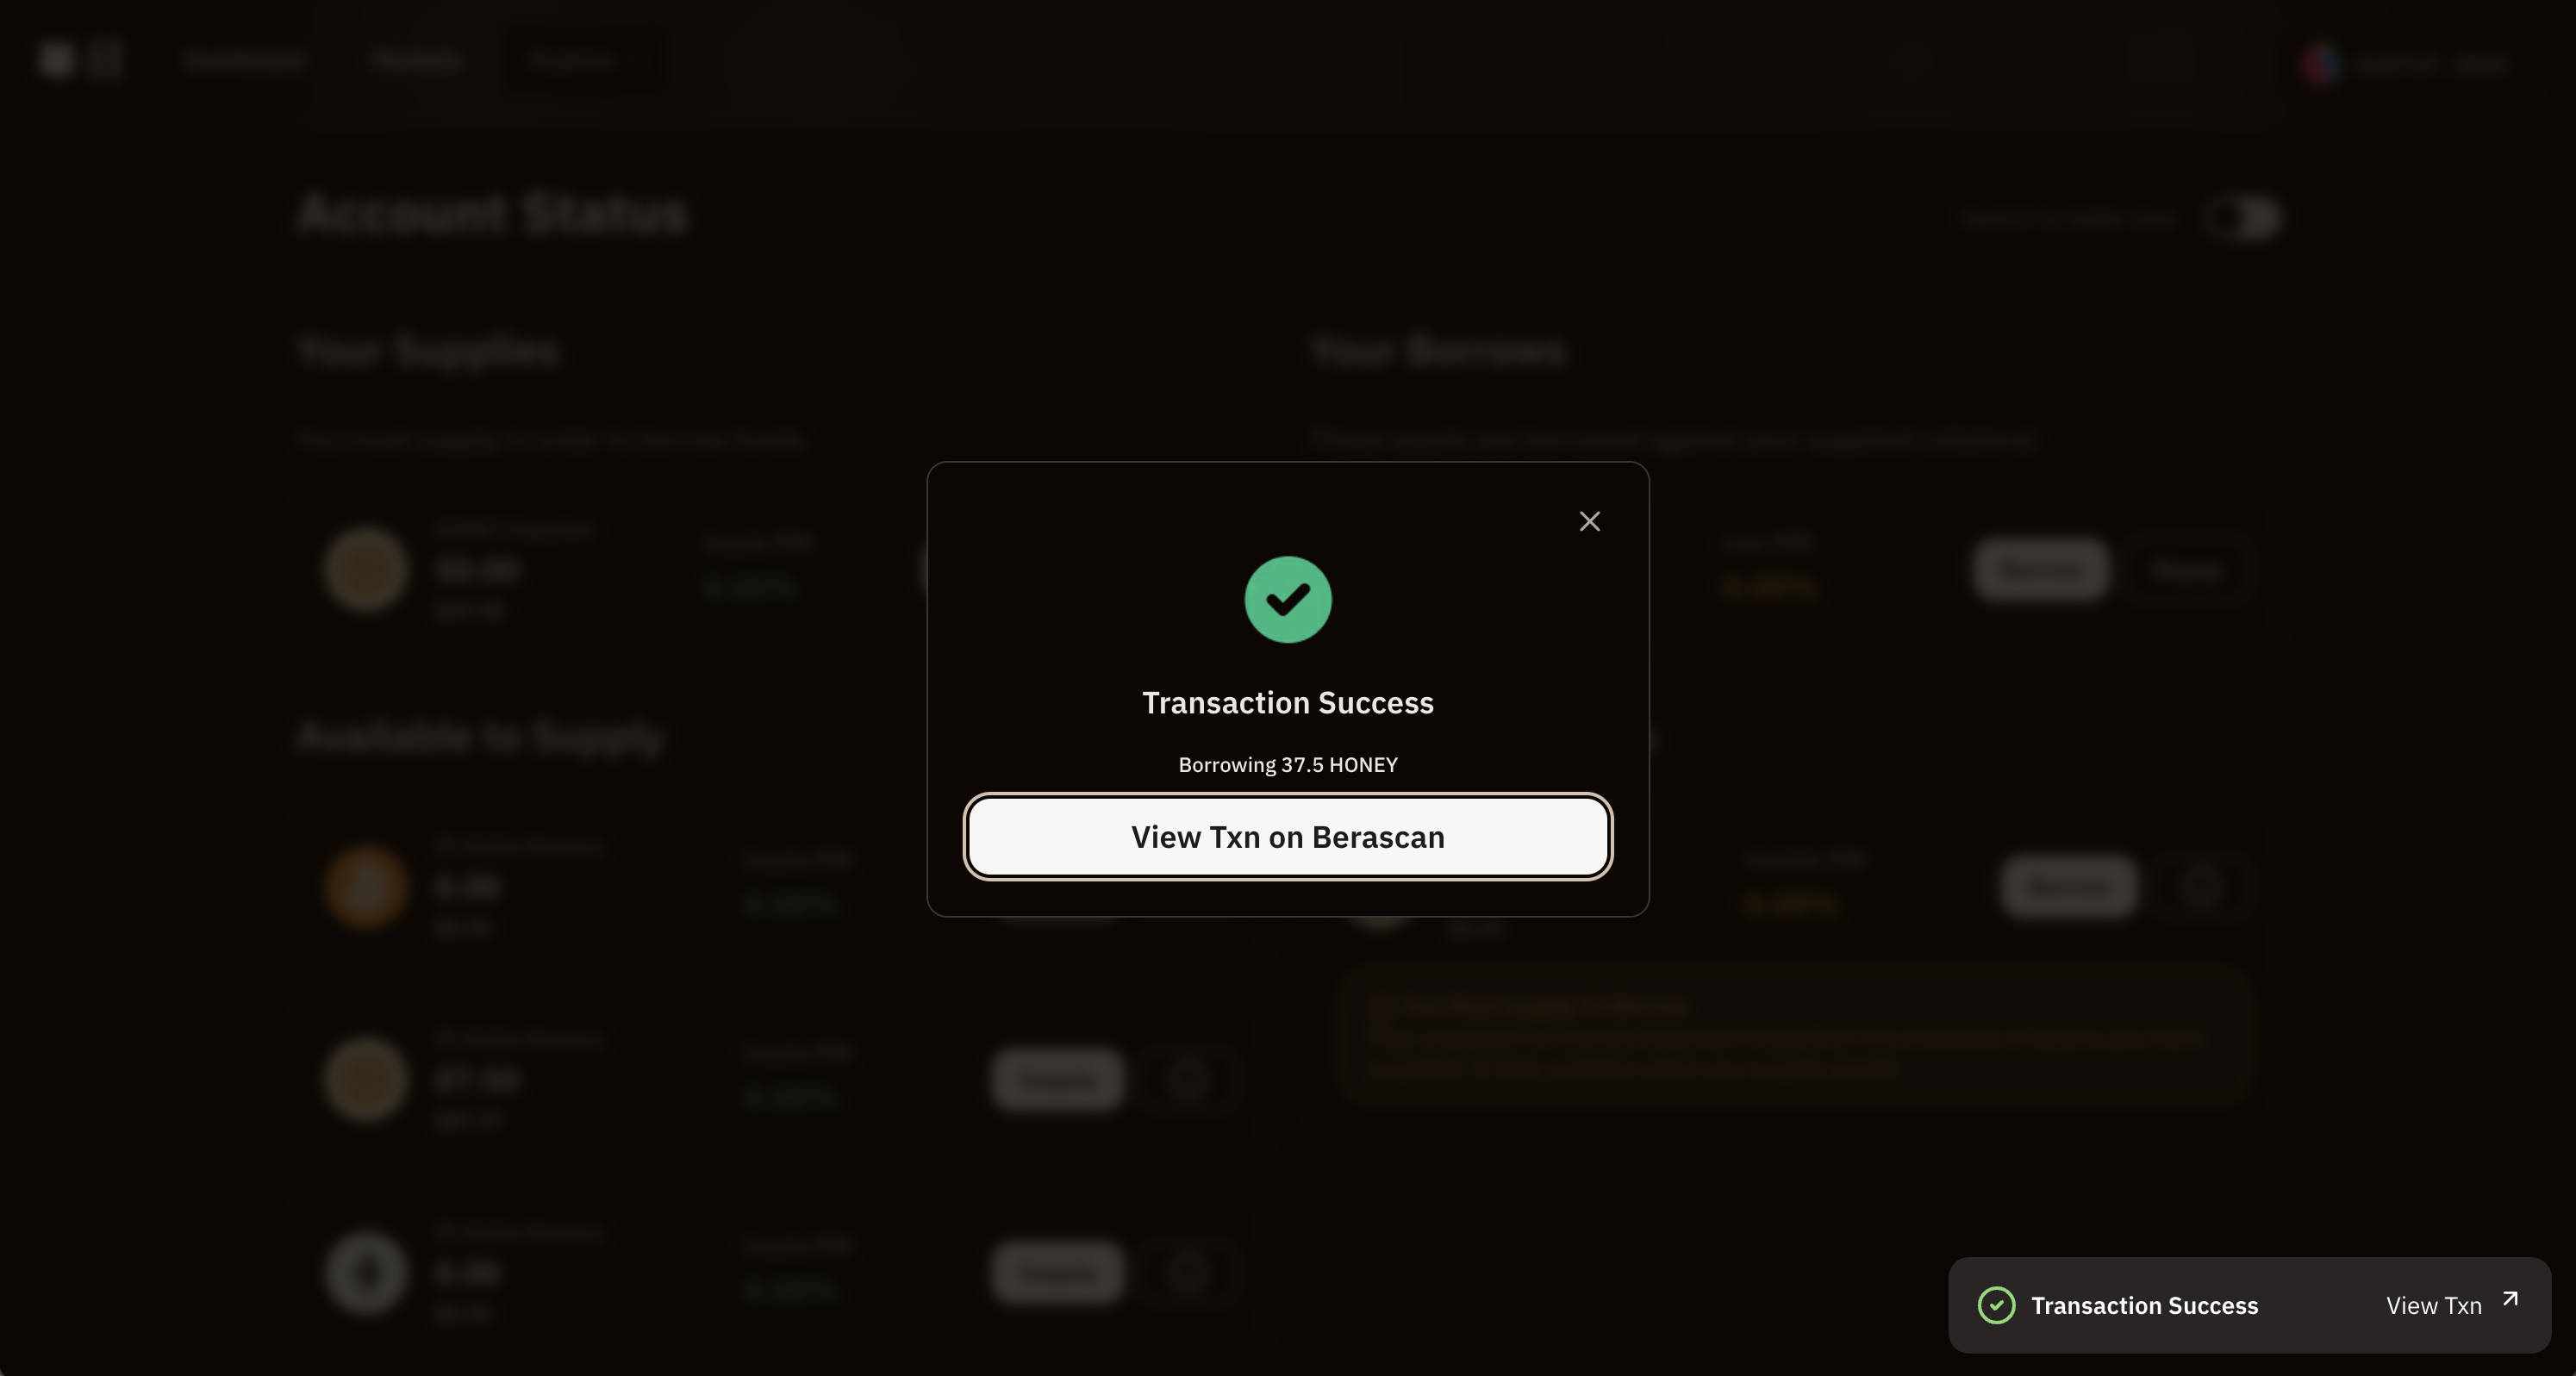
The transaction should be confirmed and the borrowed amount should be available in wallet balance
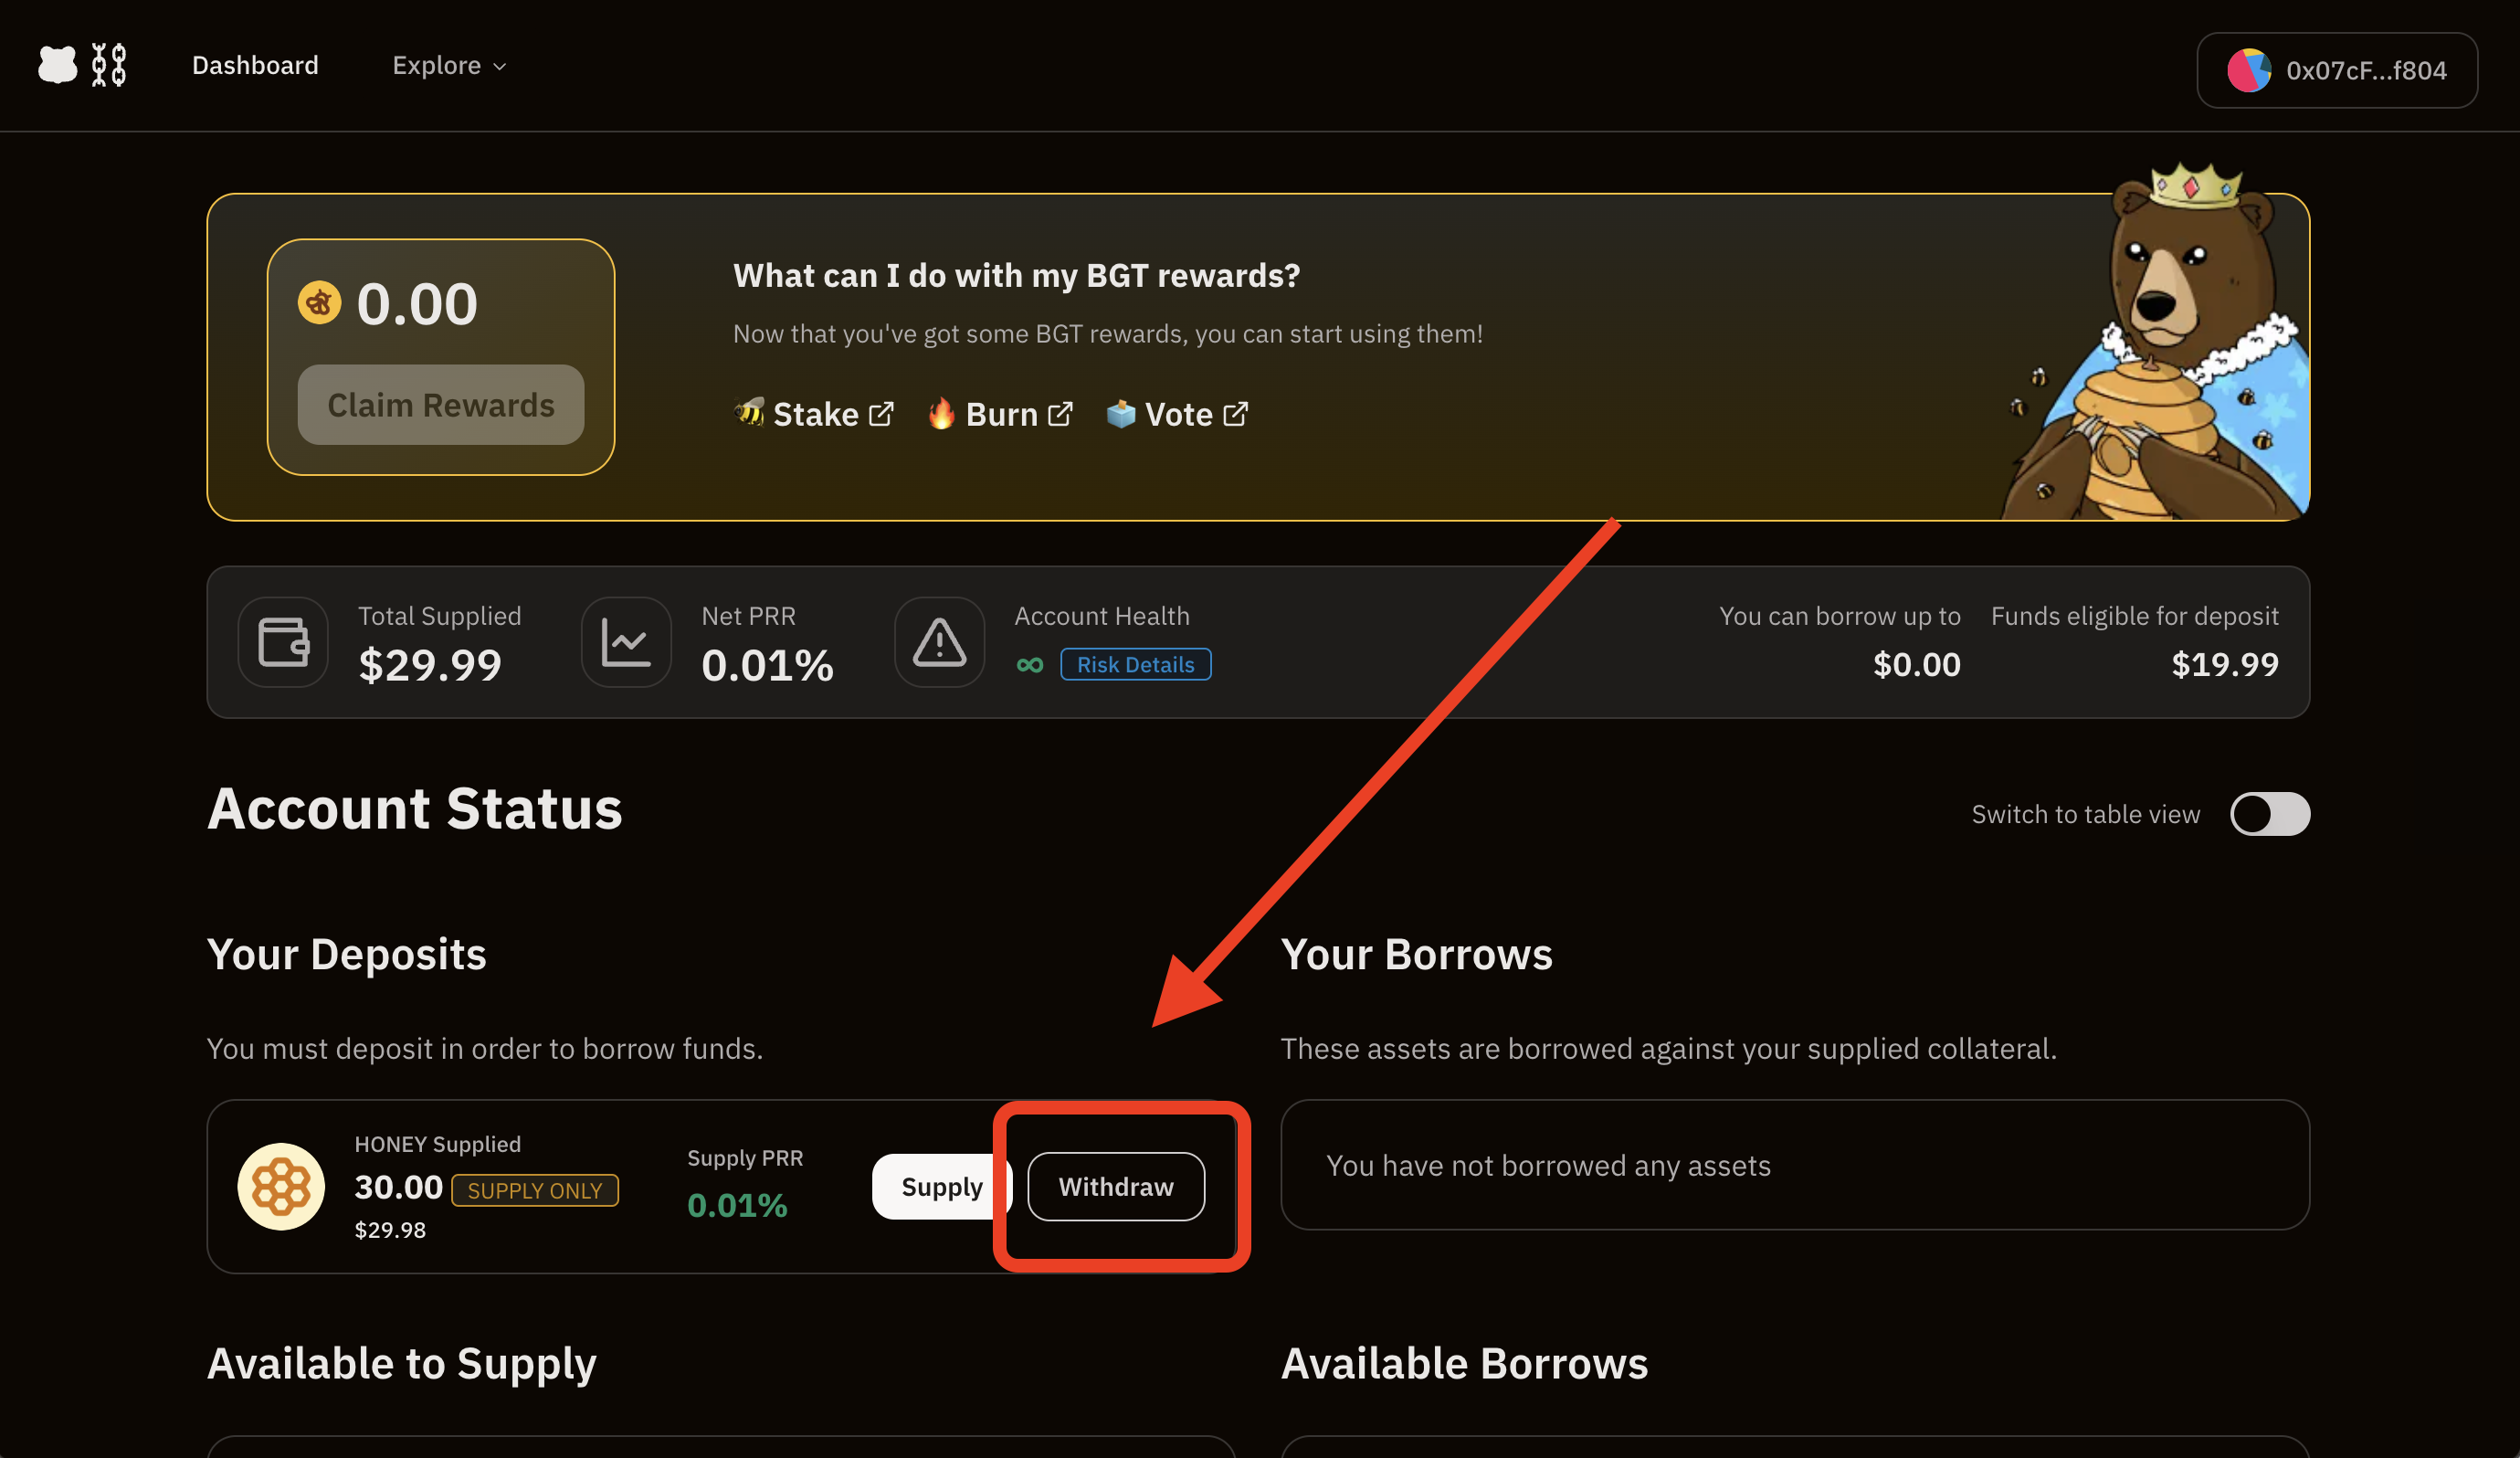
Withdrawing
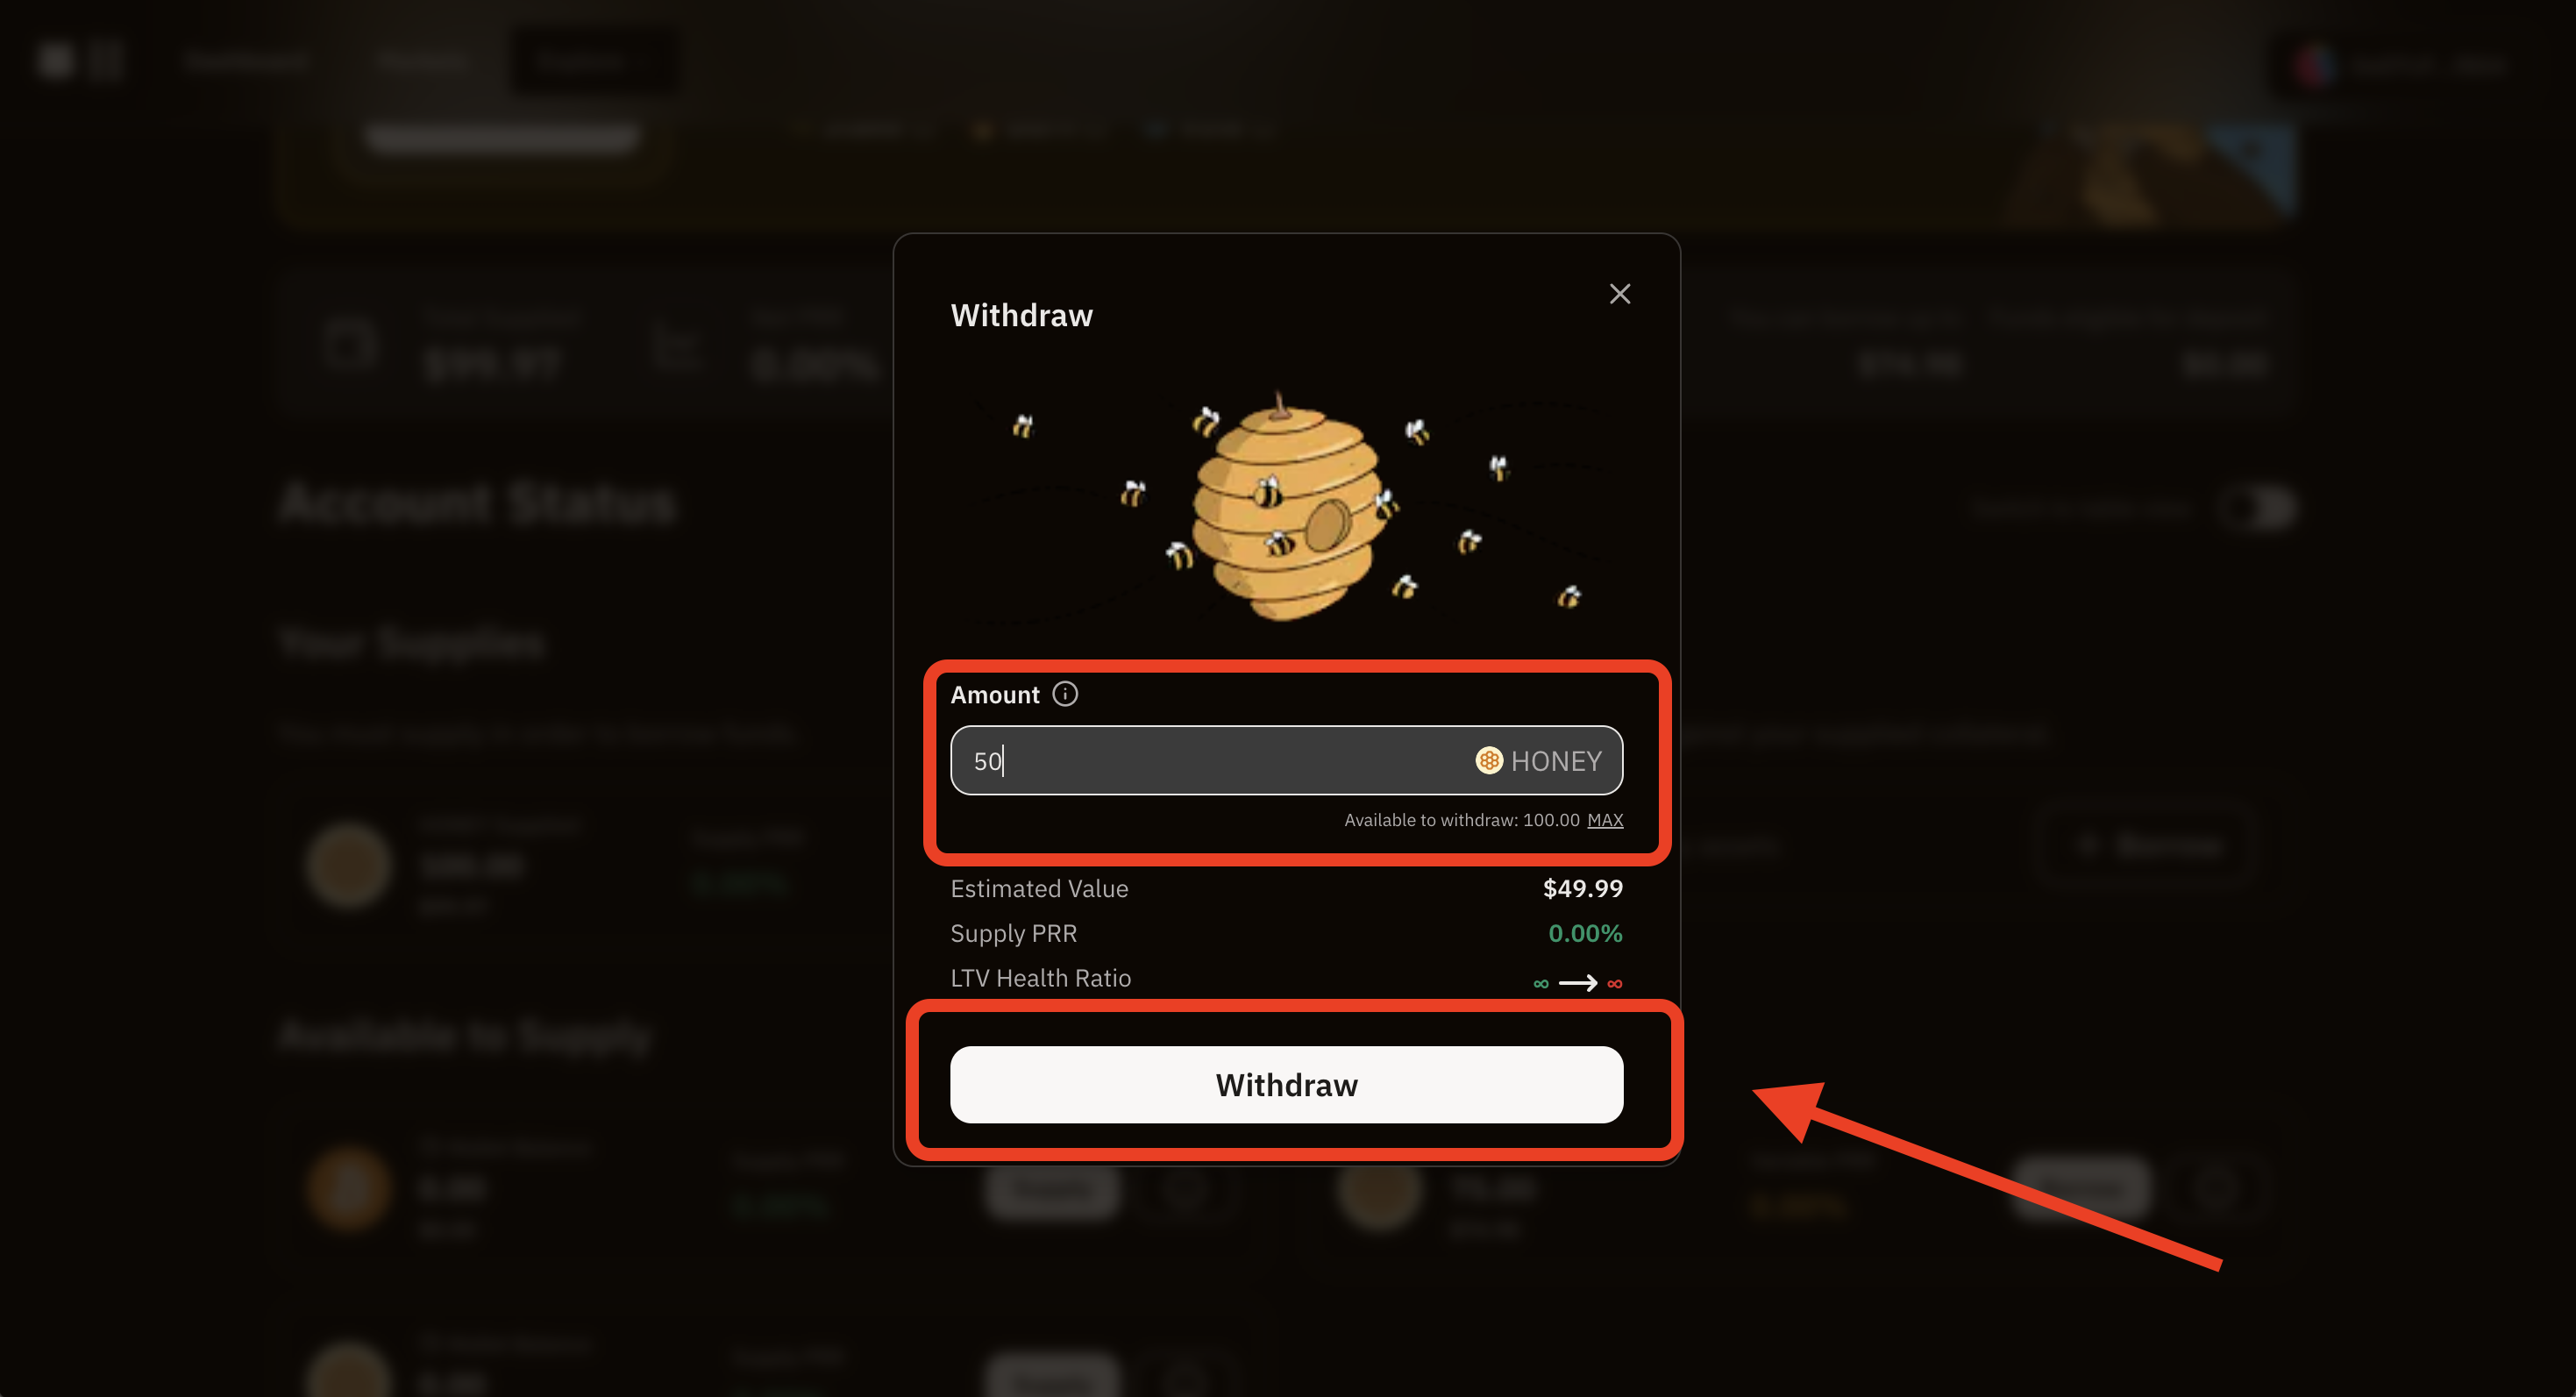
To withdraw you need to go to the "Dashboard" section and click on “Withdraw”.
Select the amount to withdraw and submit the transaction.
WARNING
You would need to make sure there is enough liquidity (not borrowed) in order to withdraw, if this is not the case you would need to wait for more liquidity from suppliers or borrowers repaying.
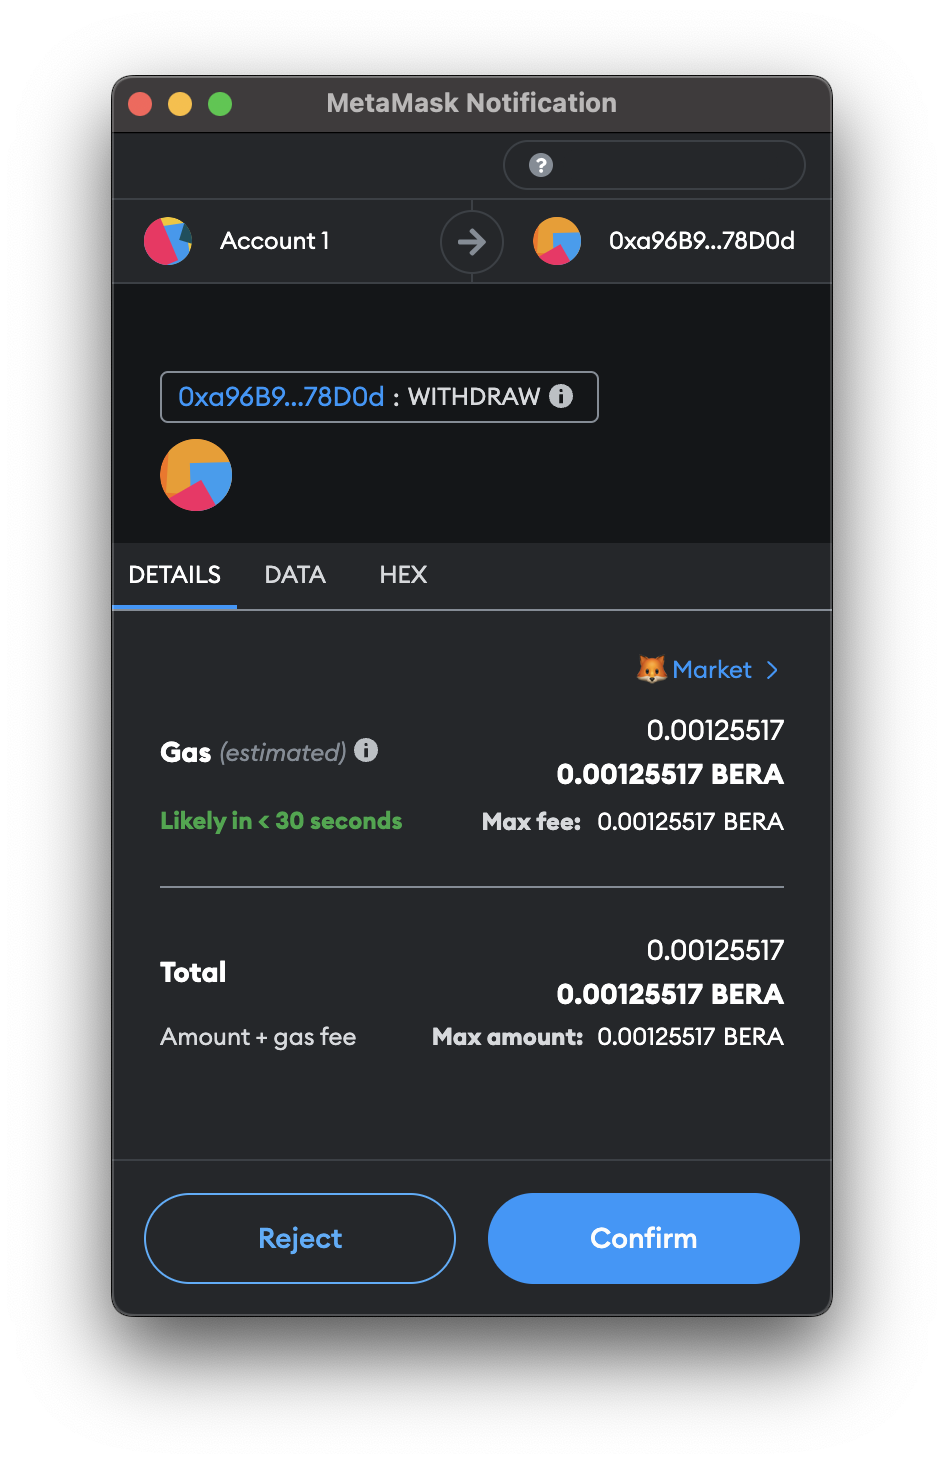
Confirm the transaction
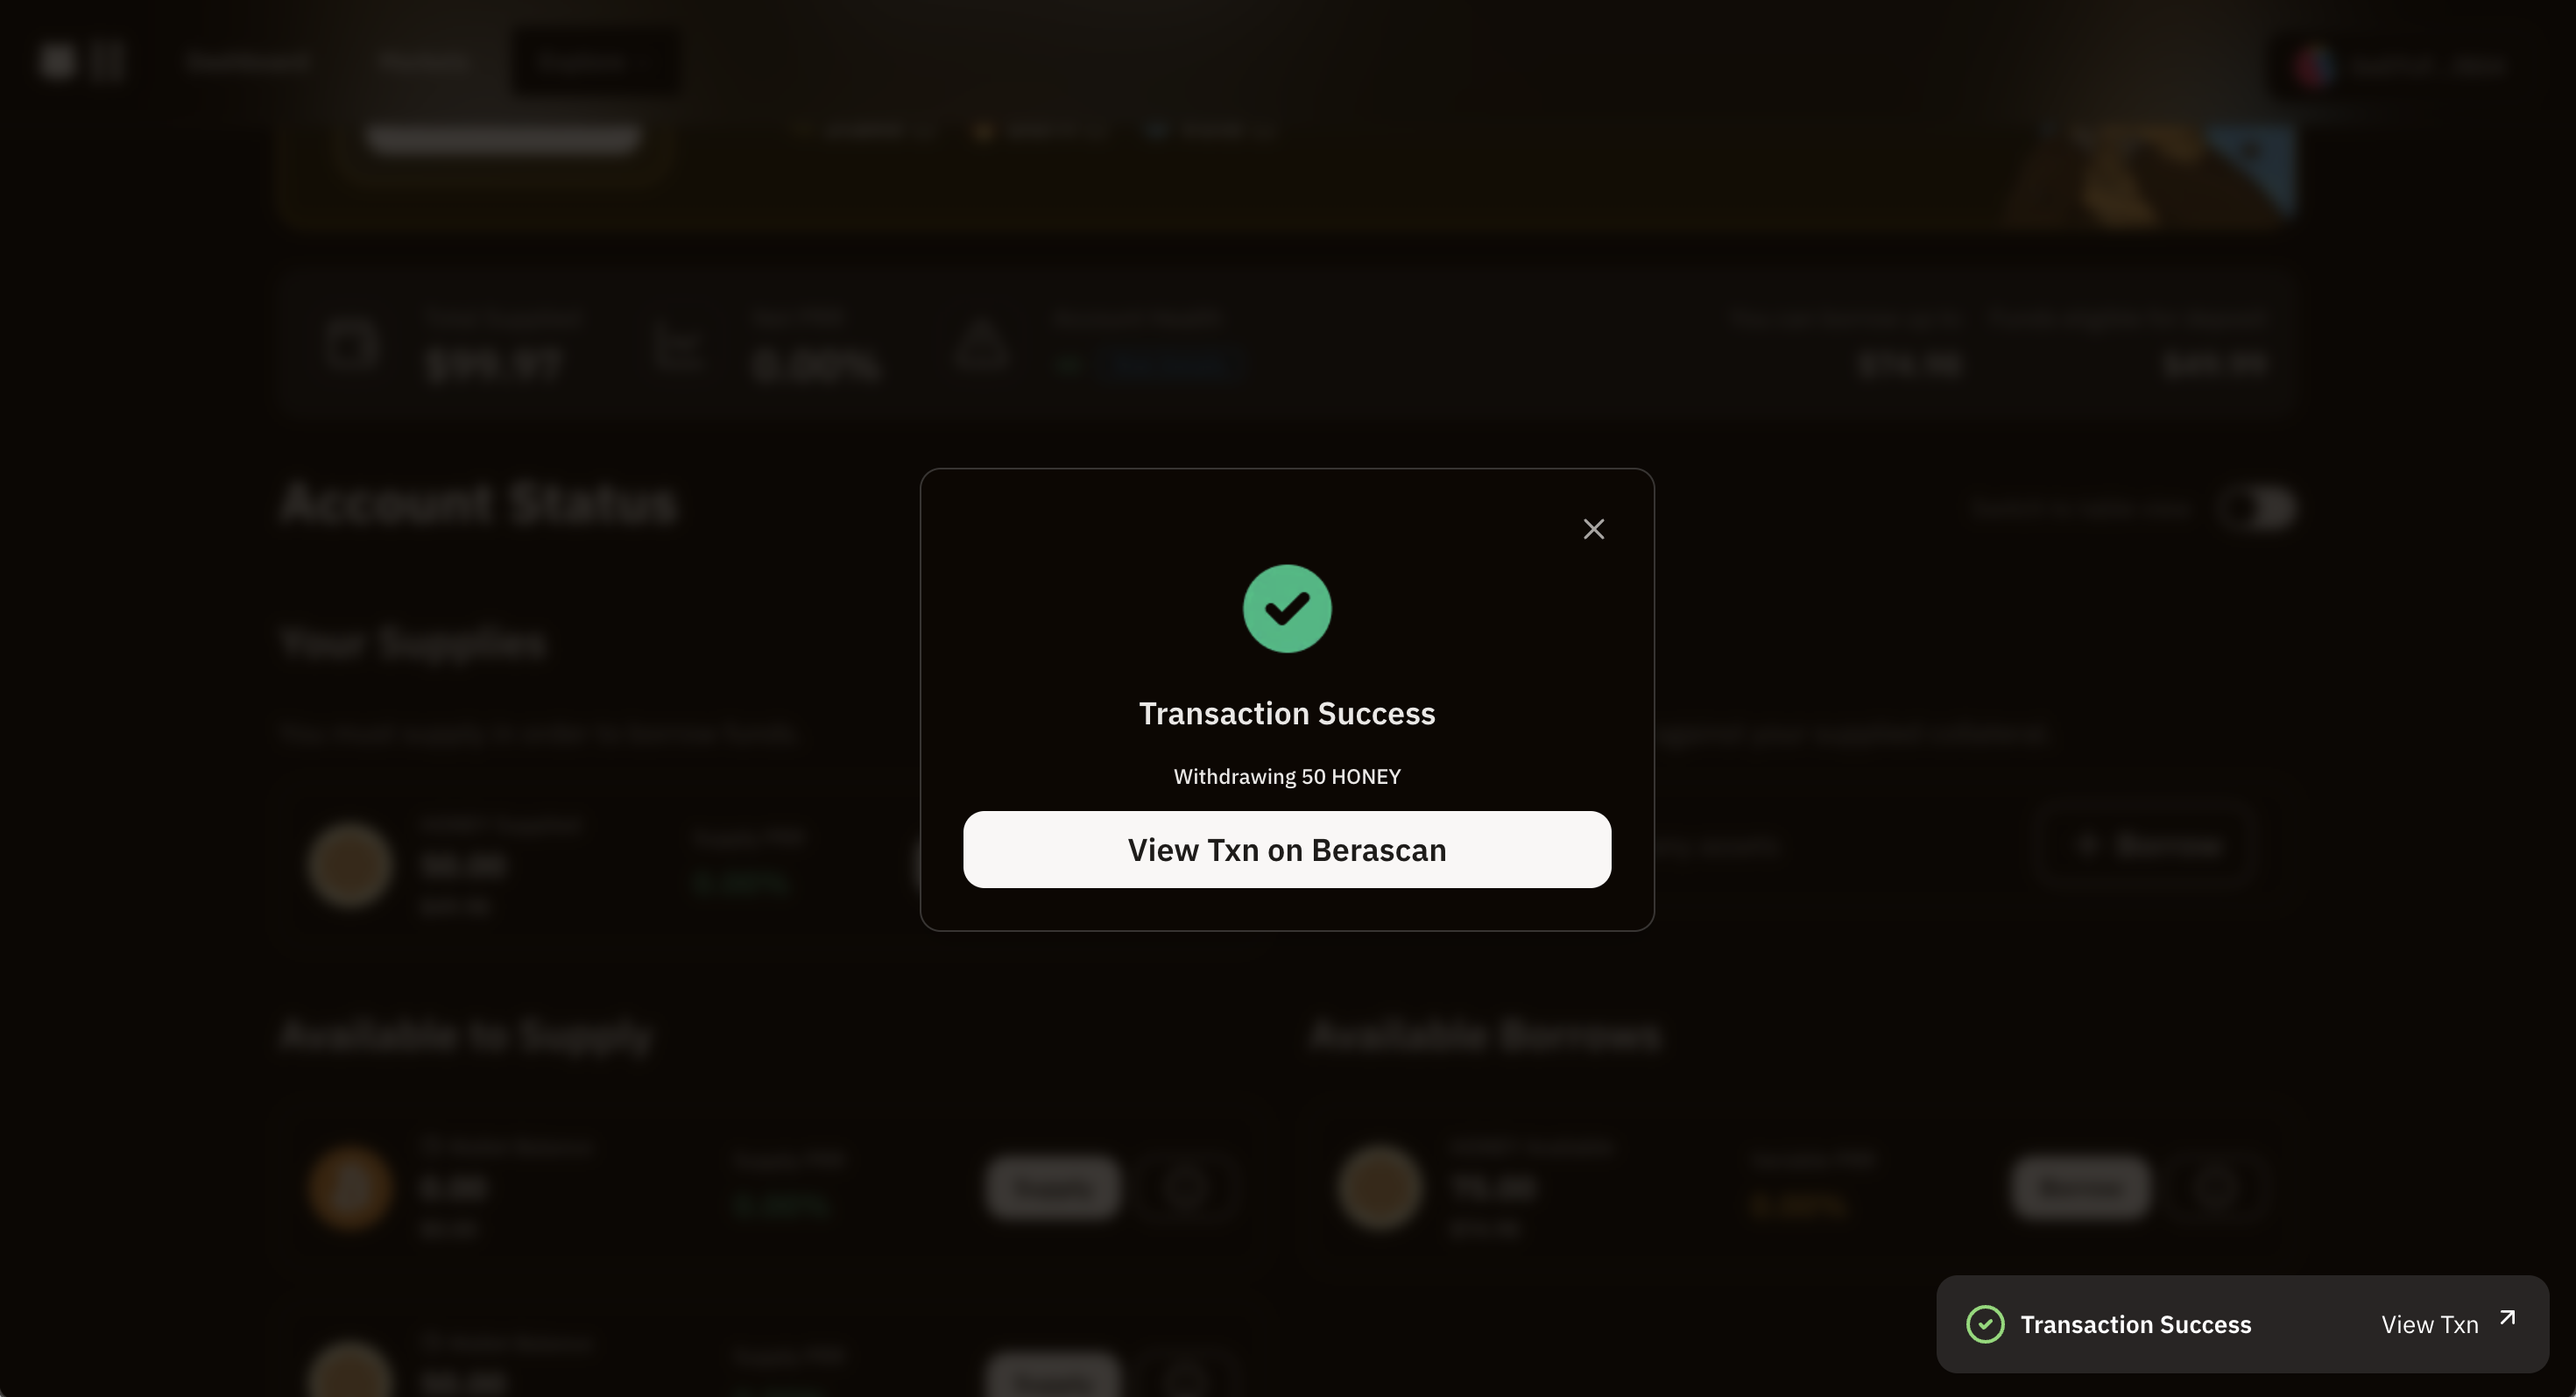
Wait for the transaction to get confirmed! The withdrawn asset should be visible in your wallet
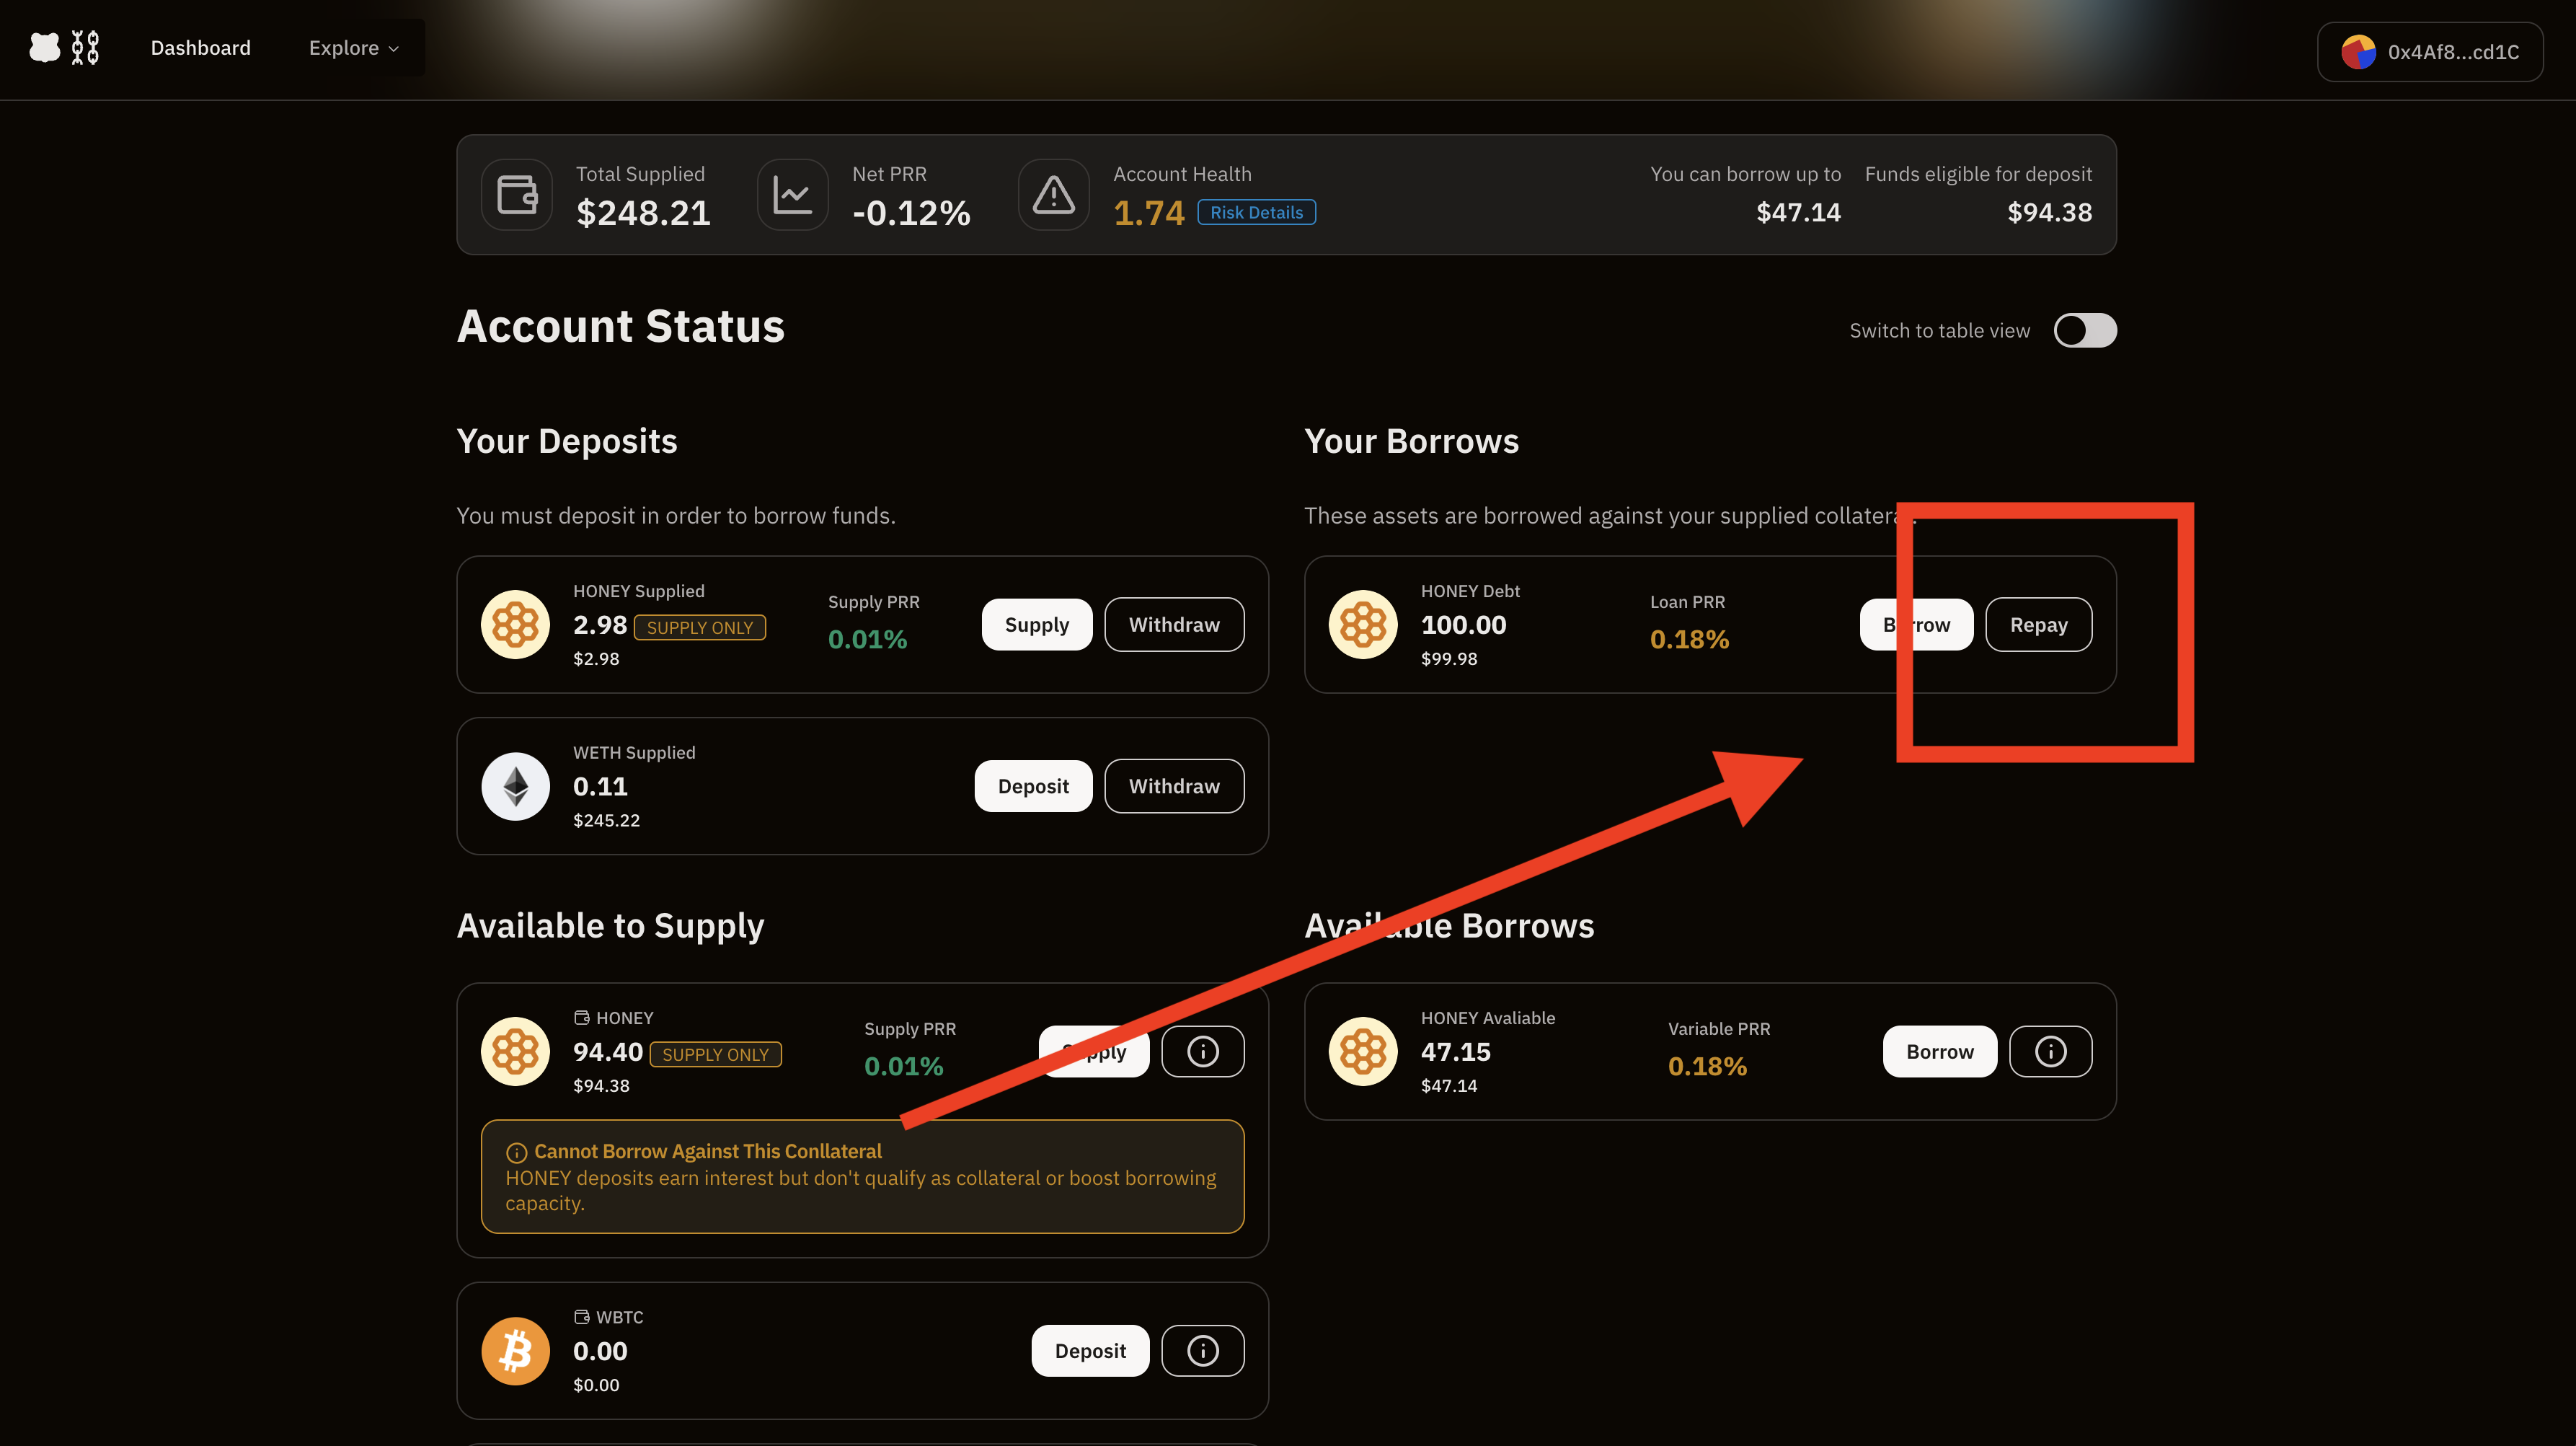
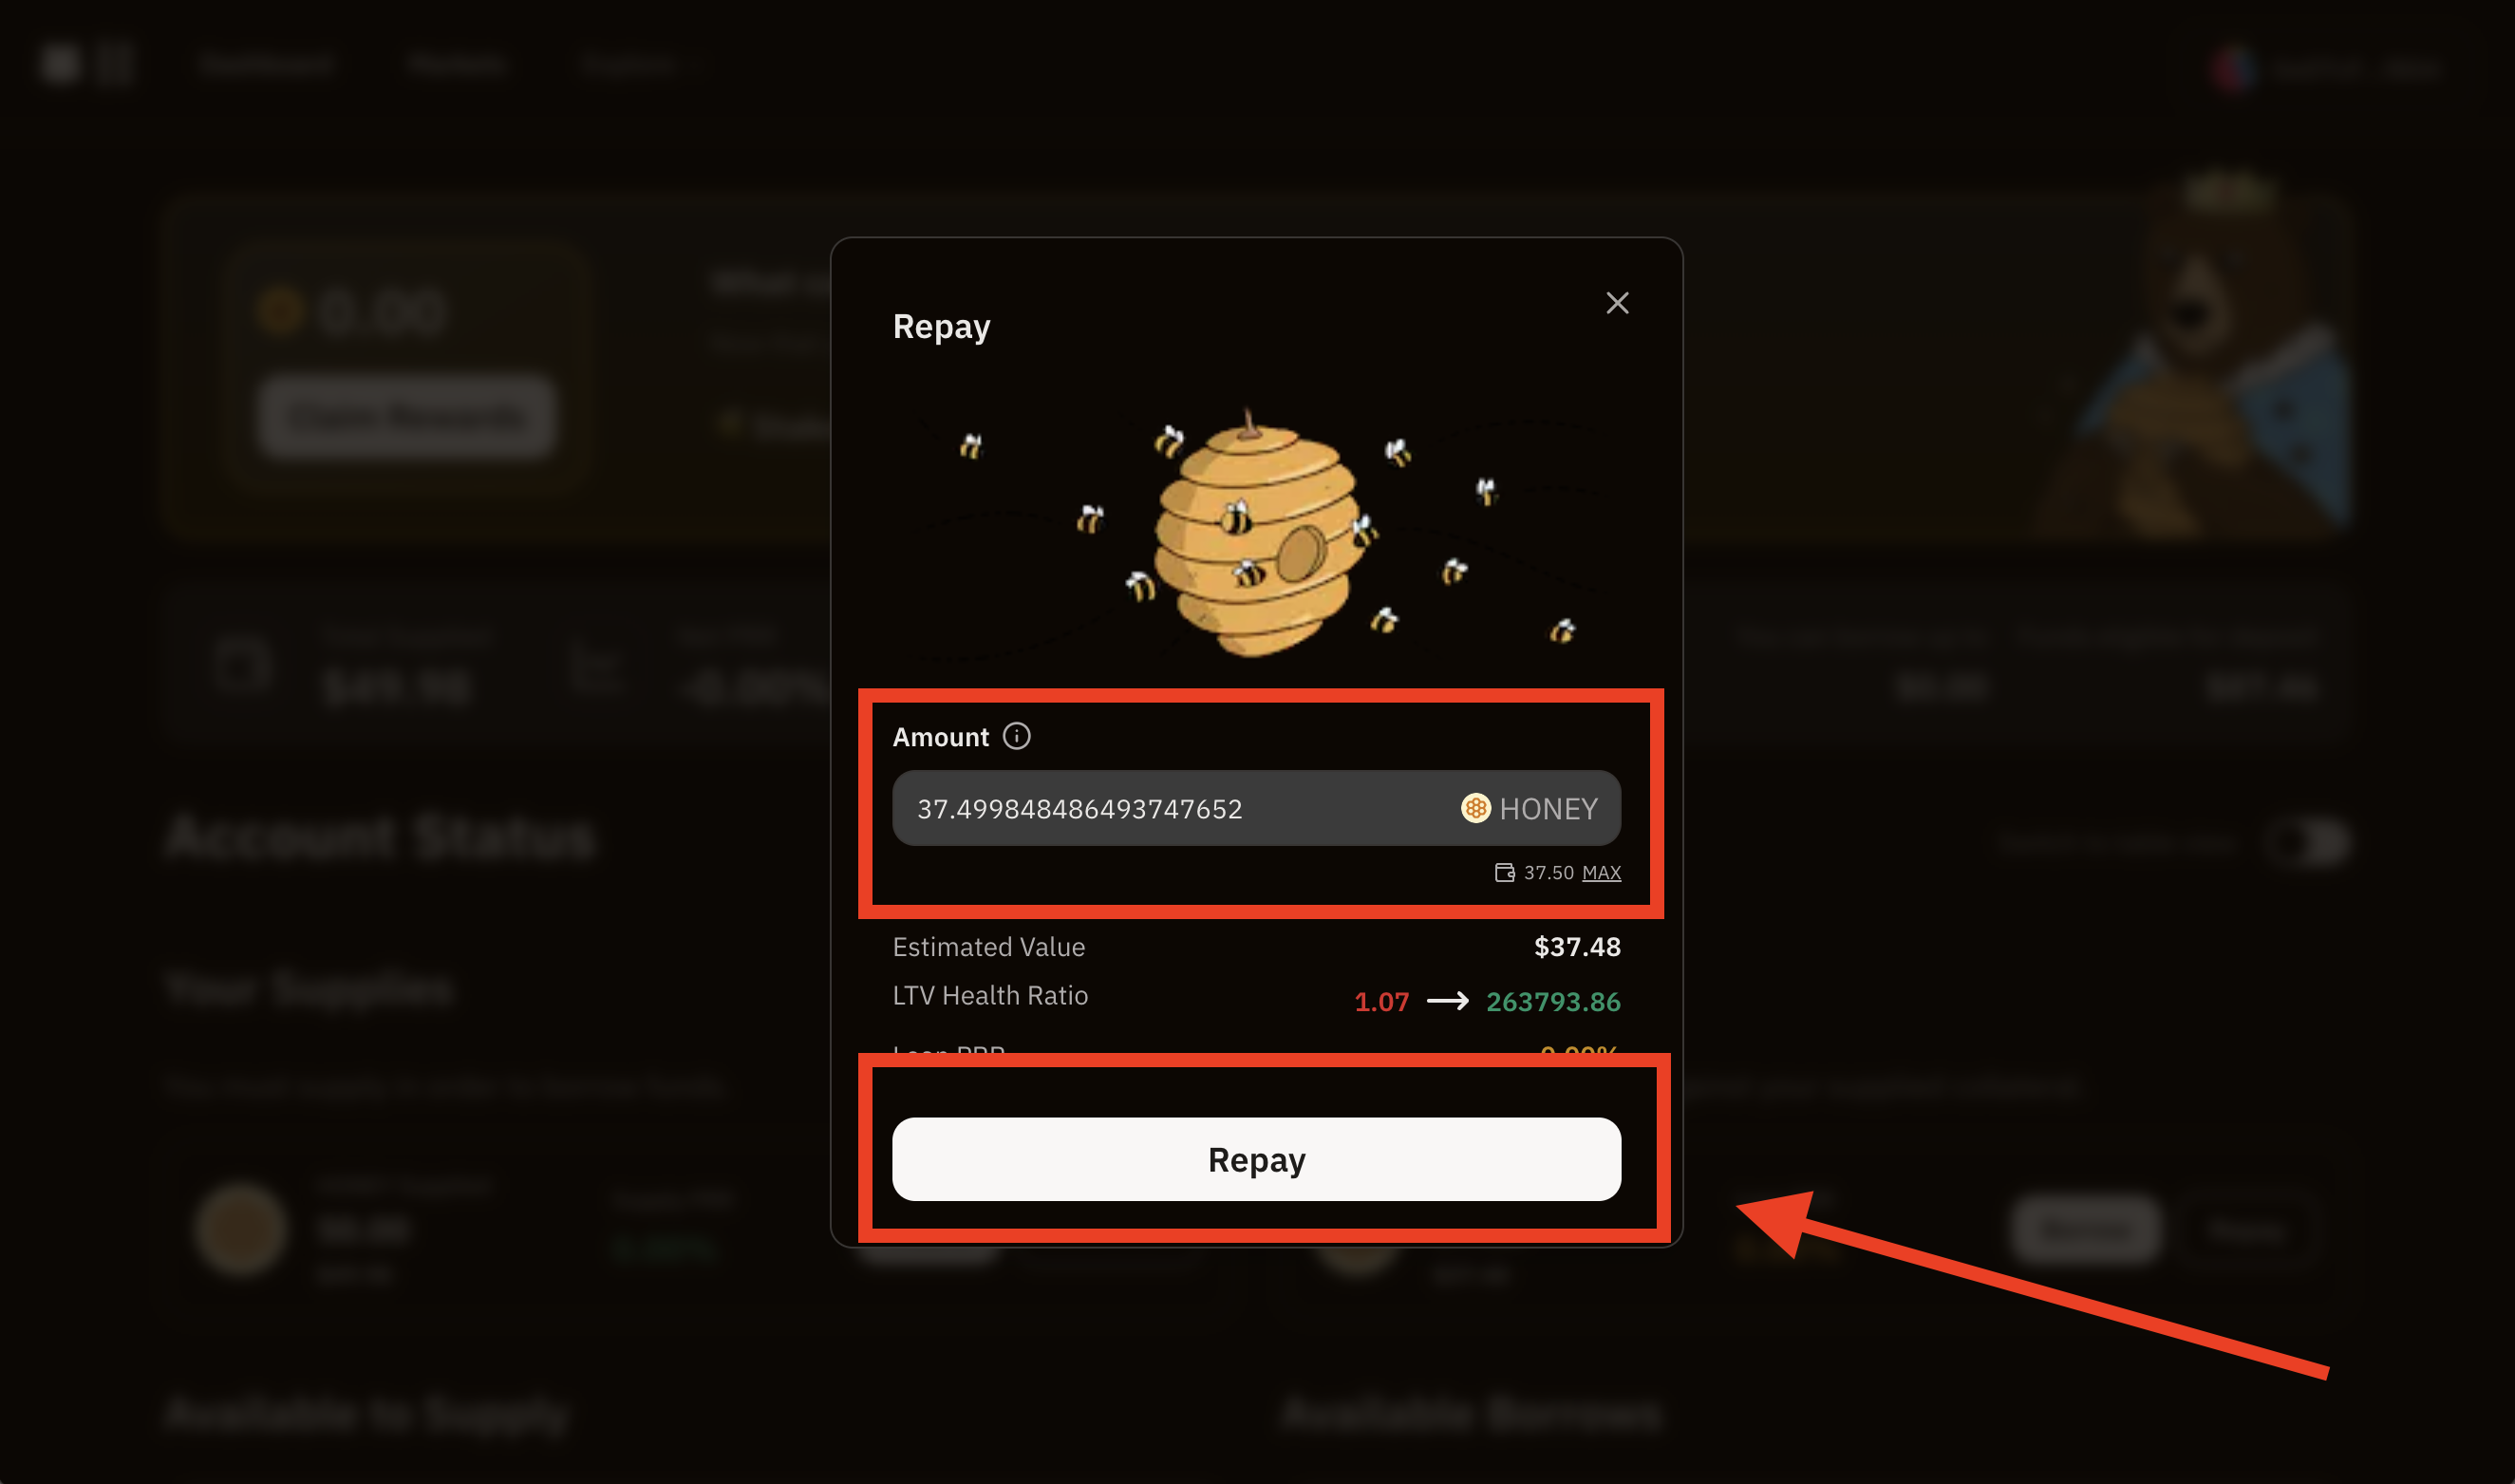
Repaying
To withdraw you need to go to the "Dashboard" section and scroll down to "Your Borrows" section. Click on Repay
Select the amount to repay and click on Repay.
Confirm the transaction by your wallet.
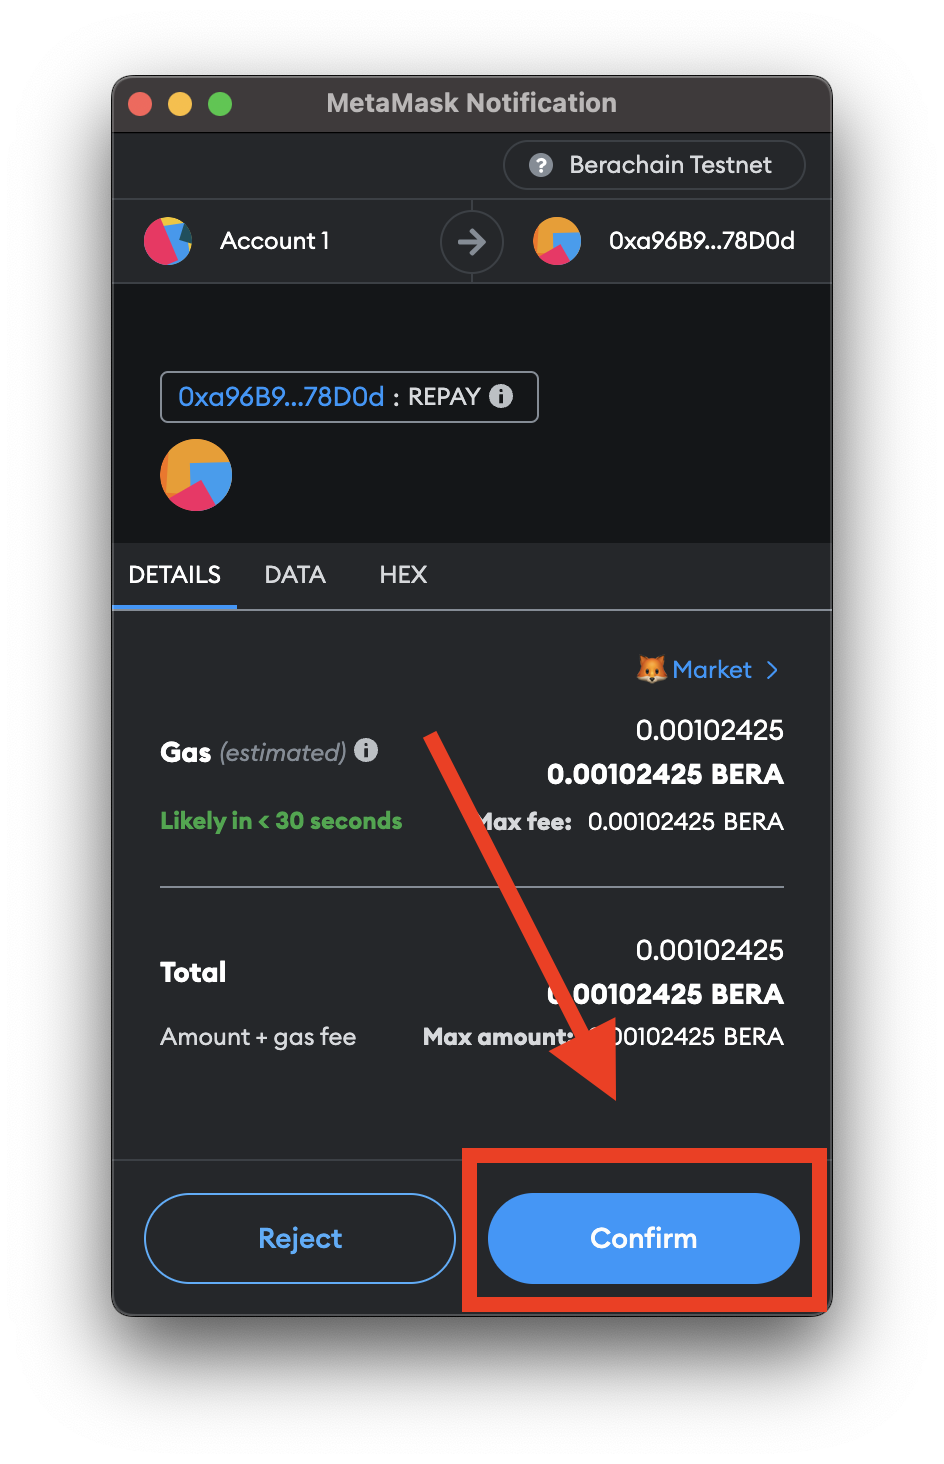
Wait for the transaction to get confirmed! The repaid asset should reflect on your dashboard!